The Kepler Track is one of New Zealand’s Great Walks— a collection of the country’s most scenic and well-maintained trails.
It is a 37-mile loop with over 7,000 feet of elevation gain through Fiordland National Park. It typically takes hikers three to four days to complete. We did it in two. Some runners even complete it in one go!
Outside of reserving our camping gear, knowing it would take two days, and being aware of the bug situation, I went in with little knowledge to embrace the surprises along the way and share my own unfiltered perspective with you later.
In this post, I’m sharing everything you need to know about backpacking the Kepler Track in two days: what we did to prepare, what it was like each day, and what I might have done differently.
Disclosure: This post is not sponsored—everything mentioned here was paid for out of pocket. A few affiliate links are scattered throughout. I only recommend products or services I use or find valuable.
If you purchase through these links, I may earn a small commission at no extra cost to you. This helps support the blog and allows me to continue creating content. Thank you for your support!
Preparing for the Kepler Track
You can find official details about the Kepler track on the Department of Conservation’s website here.
But I’ll cover everything I think is important to know. Like where to reserve your hut or campsite, rent gear, and essential items to pack.
Reserving Huts or Campsites
Before hiking the Kepler Track (or any Great Walk), you need to book a hut or campsite well in advance. Spots are limited and sell out quickly.
We couldn’t book flights until two months before departure. By then, all the huts were full, and only one campsite was available—ultimately influencing our decision to hike the track in two days.
If you plan on hiking any Great Walk, book your accommodation early!
You can reserve huts or campsites for the Kepler Track here.
Gear Rental Option
If you have your own backpacking gear, great. If not, you can rent gear in Te Anau. We brought a few of our own items—our tent and my husband’s sleeping bag/pad—but rented the rest from Outdoor Sports in Te Anau—a stove, pot, sleeping bag and pad for me, and two Osprey backpacking packs.
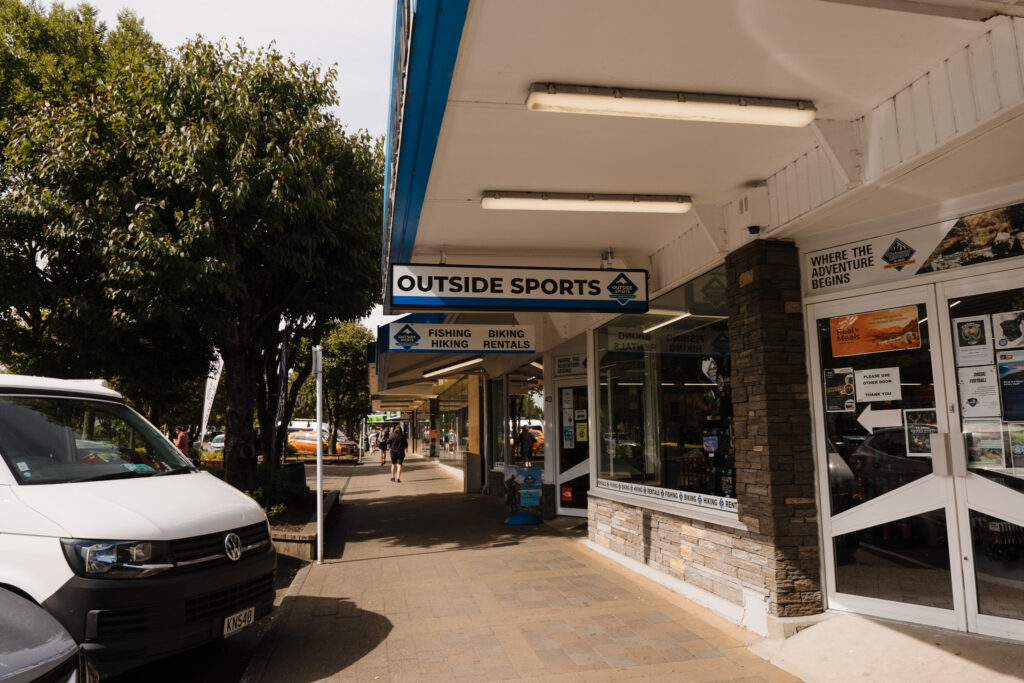
I definitely recommend Outdoor Sports if you need gear. They have locations across the South Island, and we had a great experience renting from them. We reserved everything online here before leaving the U.S. and picked it up in Te Anau the night before our hike.
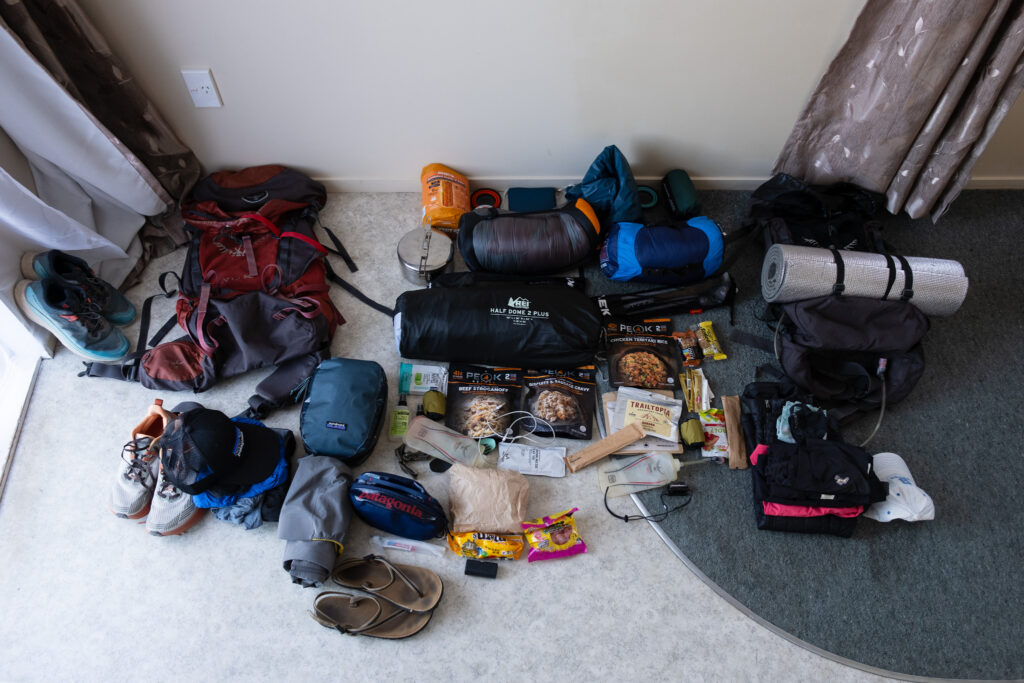
Packing for a Two-Day Trek
The Department of Conservation provides a great recommended gear list here. But here are a few items I want to discuss:
- Food – We brought one breakfast/dinner each, instant coffee, two lunches, and snacks for while you’re walking! My favorite snacks were chips, candy, these bars, and these gummies.
- Dehydrated meals – We bought dehydrated breakfast and dinner at REI in the U.S. This banana oatmeal was great for breakfast and we got this brand for our dinners.
- Water – we filled our camelbaks at the Airbnb, brought an extra 1.5L of water each, and used the campsite water tank for our food/coffee.
- Cooking gear: you will need a stove, fuel, and pot to boil water for food at campsites!
- Utensils – We brought utensils and two of these collapsible cups.
- Lighter/matches – Essential for your stove, easy to forget. Buy in NZ!
- Appropriate clothes: Layers for weather, cold, and the sandflies at Iris Burn.
- Sunscreen – The sun is intense here! We use this for our body and this for my face.
- Bug spray – A MUST for day 2. We used this one.
- Wipes – These wipes are a great way to freshen up after sweating all day.
- Trash bag – Pack out all trash, and leave nothing behind.
- Portable charger – We have a few. An old Anker charger similar to this one, this heavy-duty power bank, and this iPhone charger.
There is one thing I regret not bringing.
And it’s this Peak Design camera clip for my backpack. I thought I could get away with just using the strap but nope. My camera drove me nuts the entire time! Don’t be like me. If you’re backpacking with a camera, bring this clip.
Although I’ve done multi-day trail running and fast-packing with a vest, this was my first real backpacking trip. Having a full pack meant I overpacked my clothing. However, I’d rather carry extra layers than be underprepared—especially in alpine environments where conditions can change fast.
Checking in at the Visitor Center
The day before our hike, we checked in at the Fiordland National Park Visitor Centre. Here, you can:
- Pick up a paper map
- Ask about trail conditions and weather
- Confirm your hut/campsite reservation
You’ll need to provide your confirmation number when checking in and again when you arrive at your campsite or hut. A DOC ranger will verify your booking, so keep it handy.
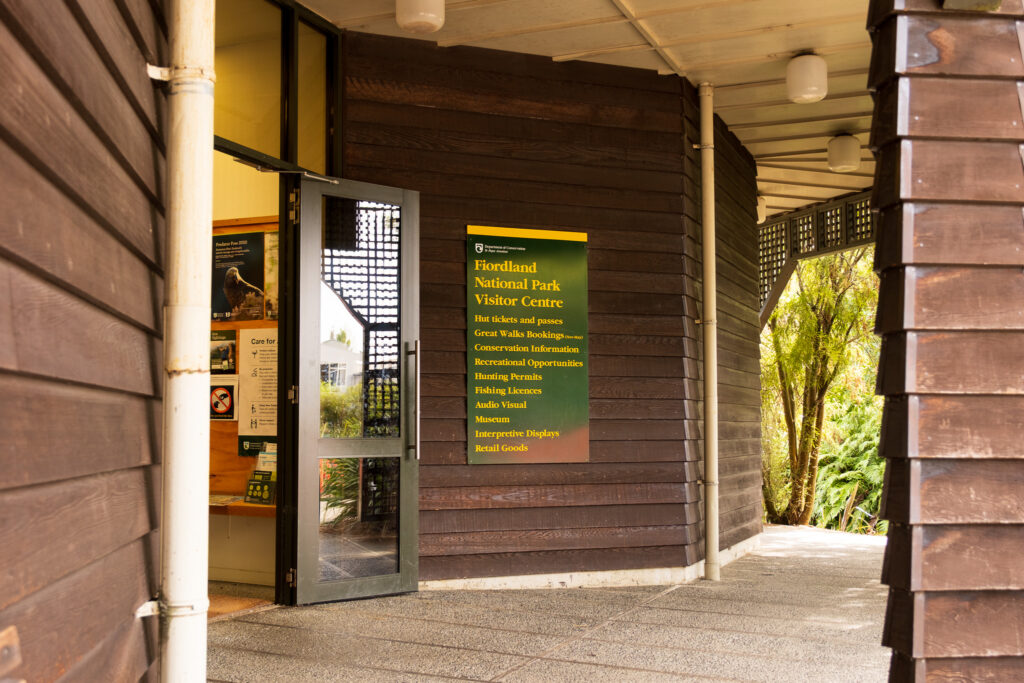
While we grabbed a paper map as a backup, my husband mapped out two separate hikes in AllTrails for us to download and follow. You can find the full trail on AllTrails here.
It was helpful to always know where we were on the trail using AllTrails, but the trail is so well-marked that you could easily navigate without it.
Backpacking the Kepler Track in 2 Days
In this next section, I’m sharing a day-by-day breakdown of our Kepler Track hike, including a play-by-play of each day’s experience.
You’ll find plenty of images along the way to help you visualize the trail, the scenery, and what it’s like to hike this route. 99% of the images were captured on my new Fujifilm X-T50 with the Provia Standard film simulation.
I hope this section gives you a sense of what to expect on the Kepler track!
Related read: Why I Got a Fujifilm X-T50 (And Not an XT5)
Day 1: The Trailhead to Iris Burn Hut (~18mi, 5k elev.)
We woke up before sunrise to shower, eat breakfast, and make sandwiches for the first day’s hike.
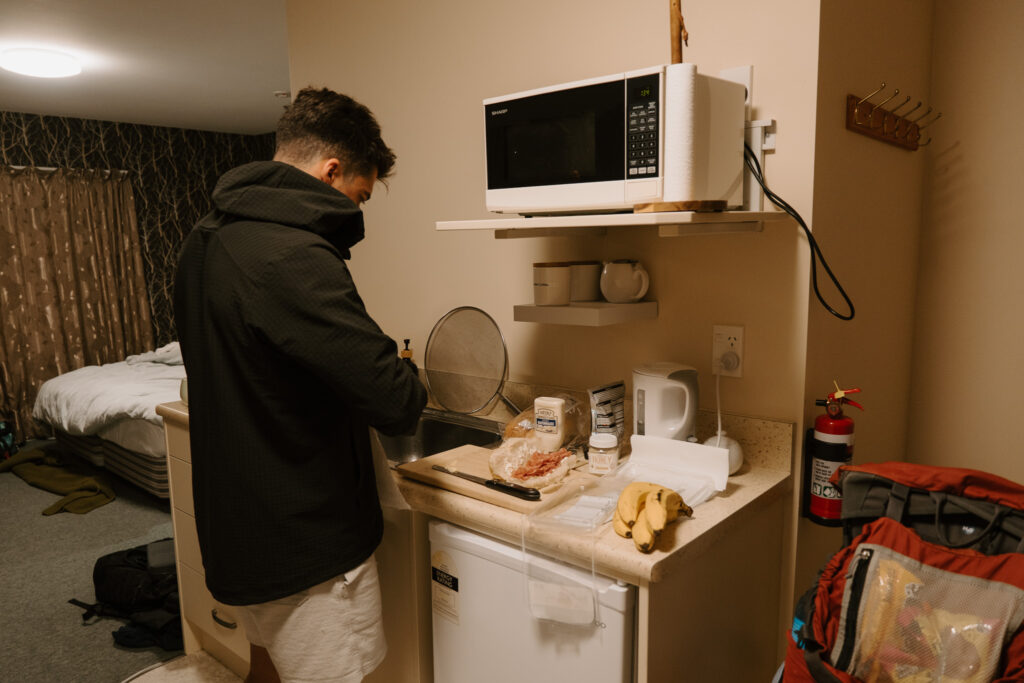
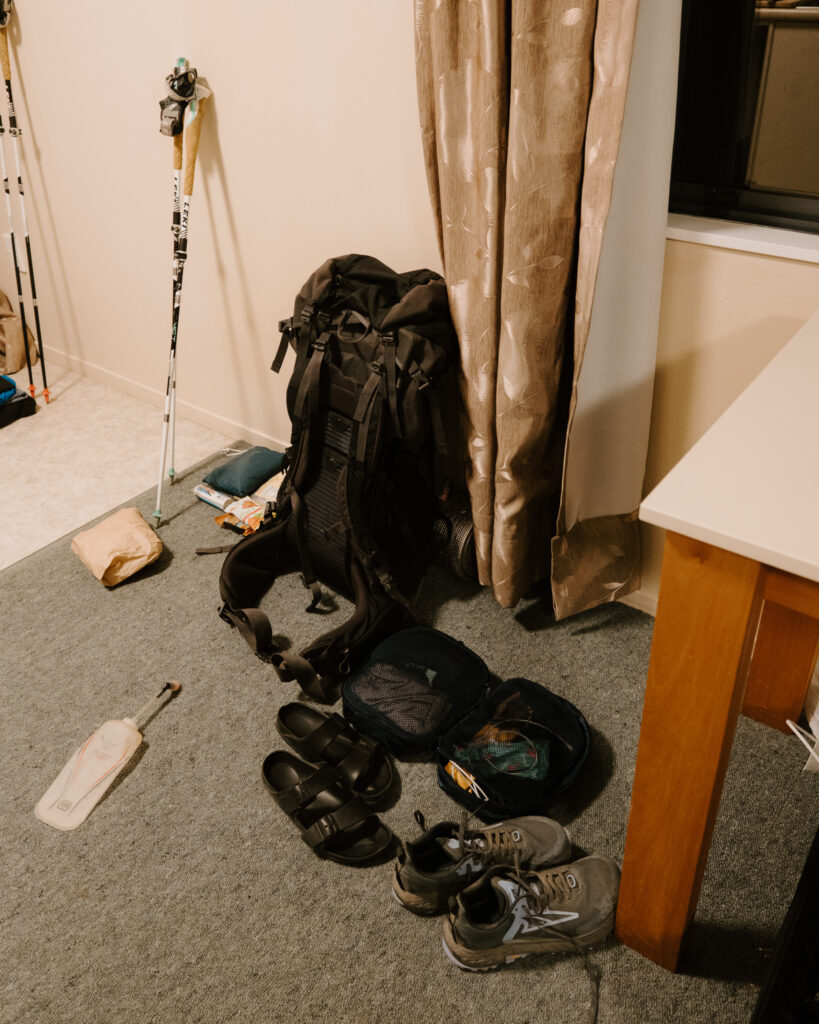
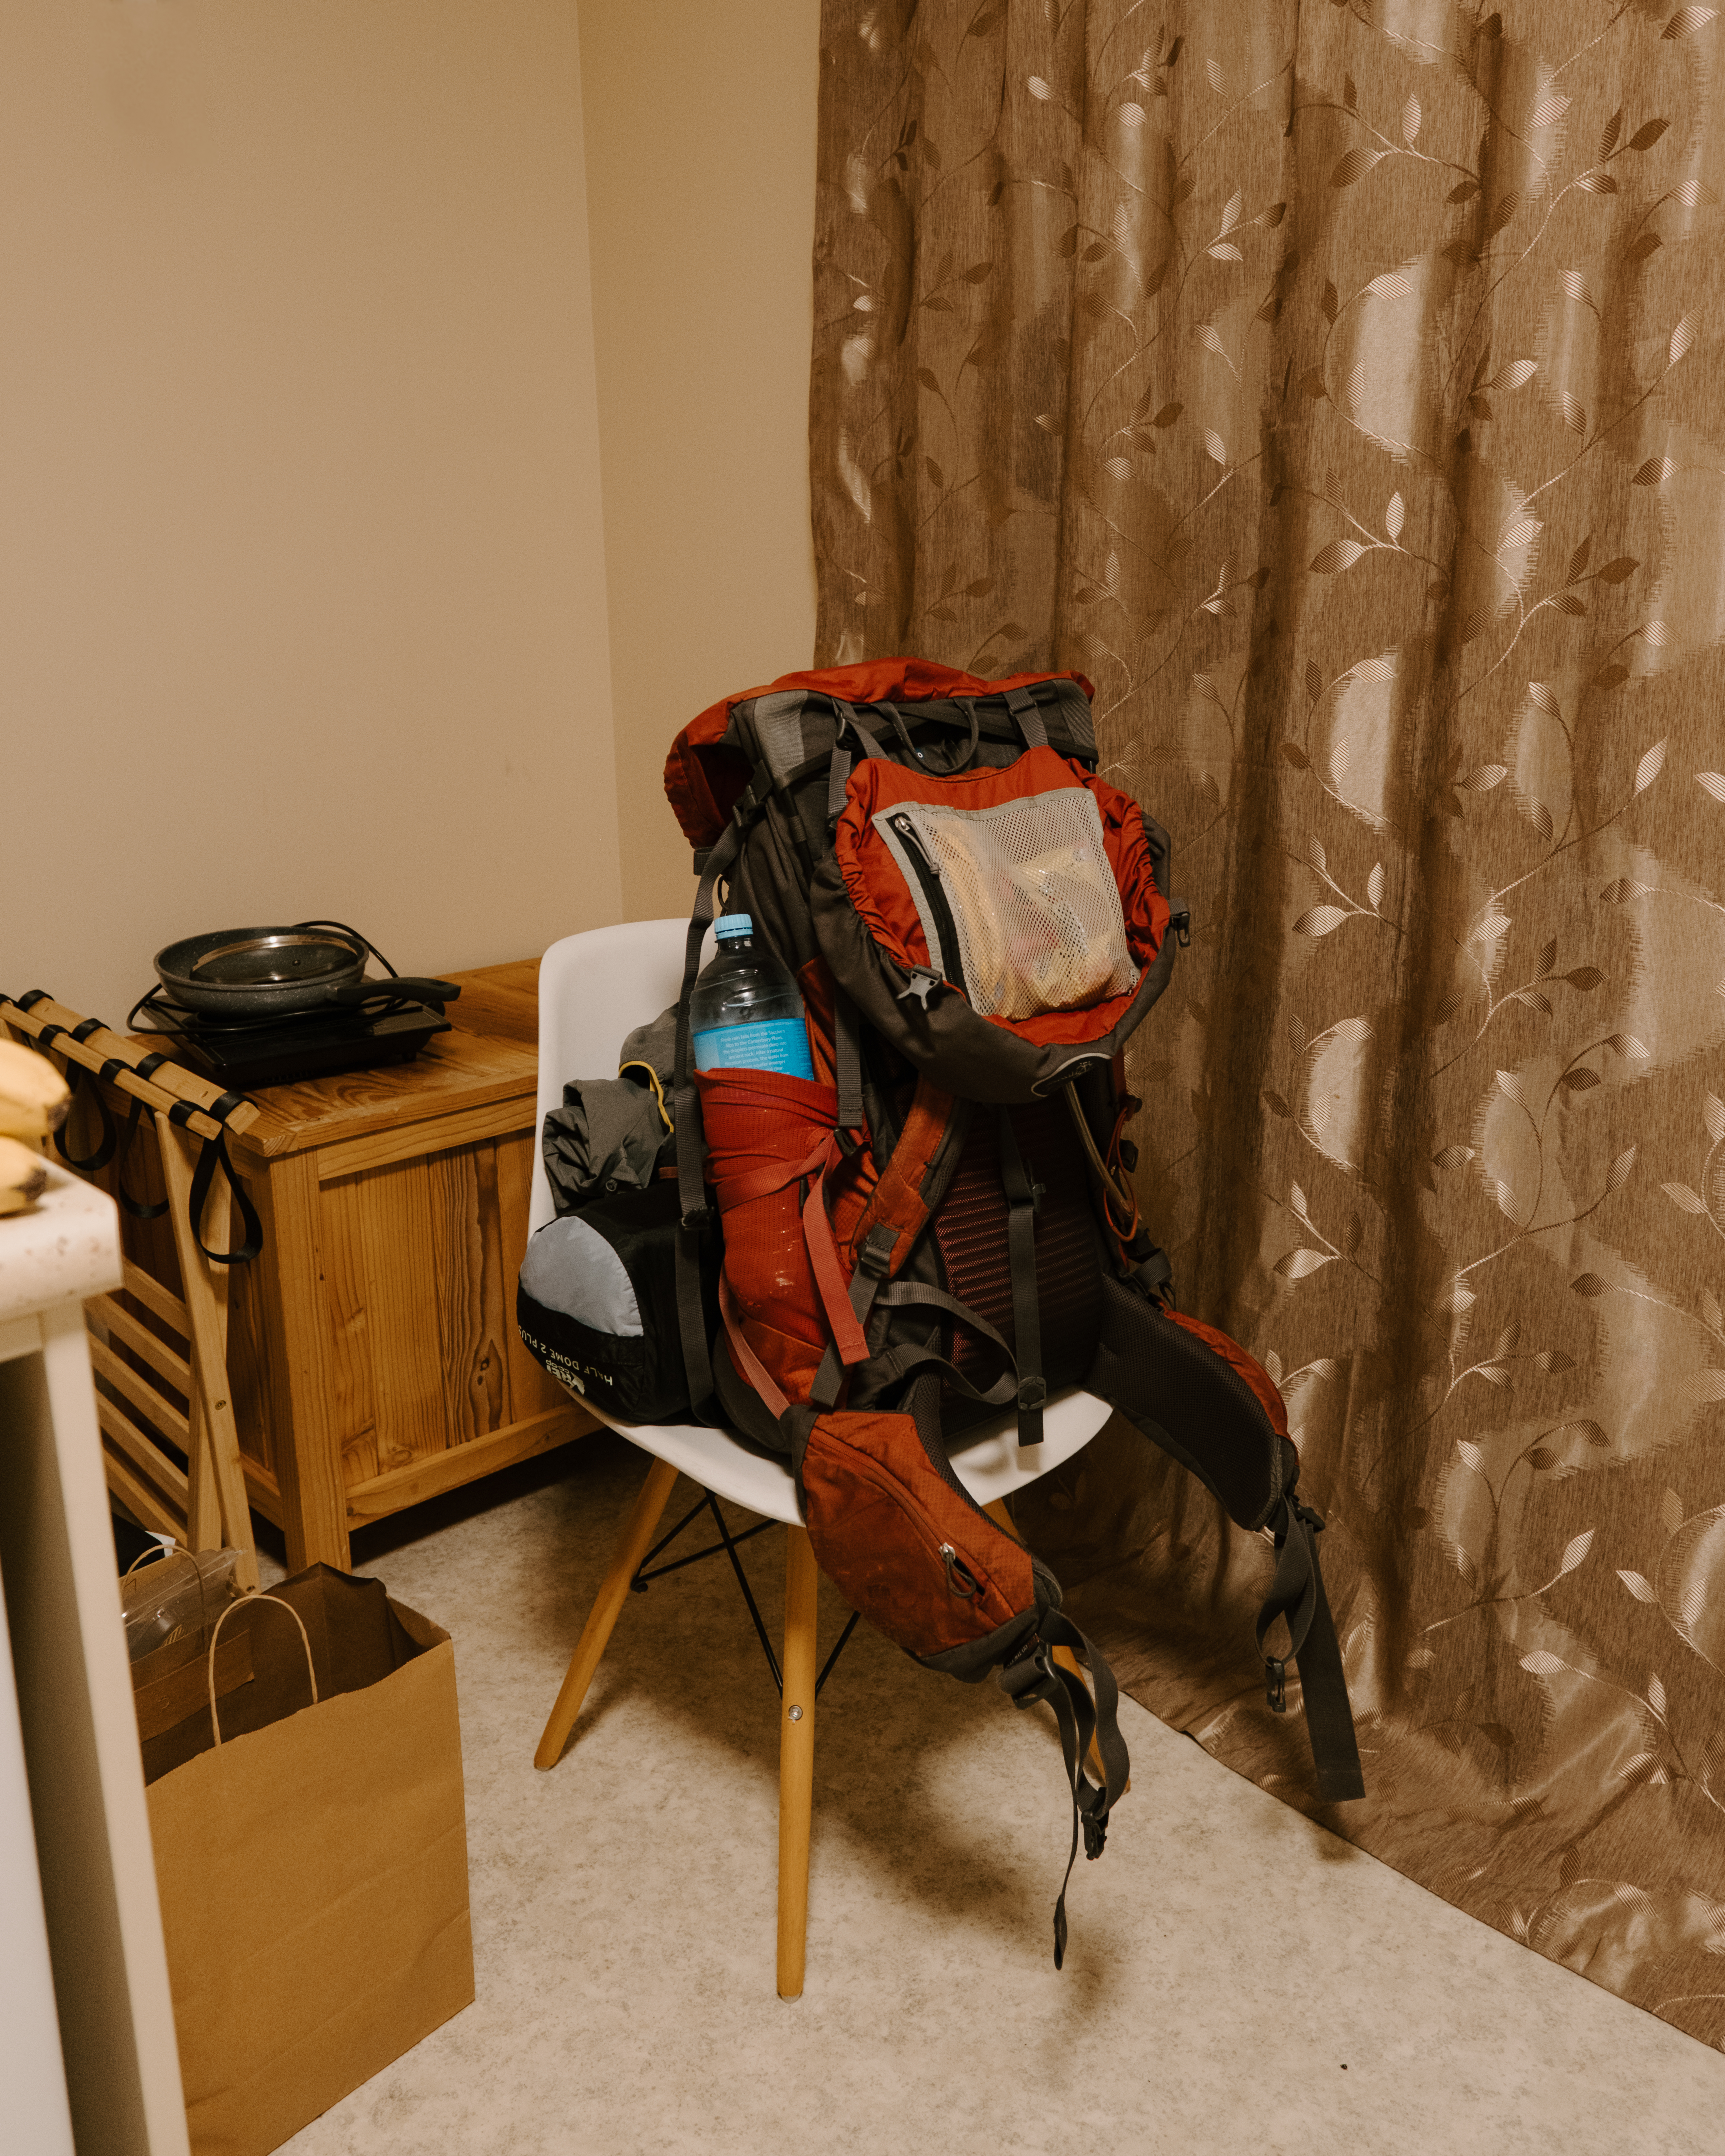
We contemplated leaving our stuff in our car while we backpacked but decided to book this affordable Airbnb in Te Anau for 3 days to make life easier for us.
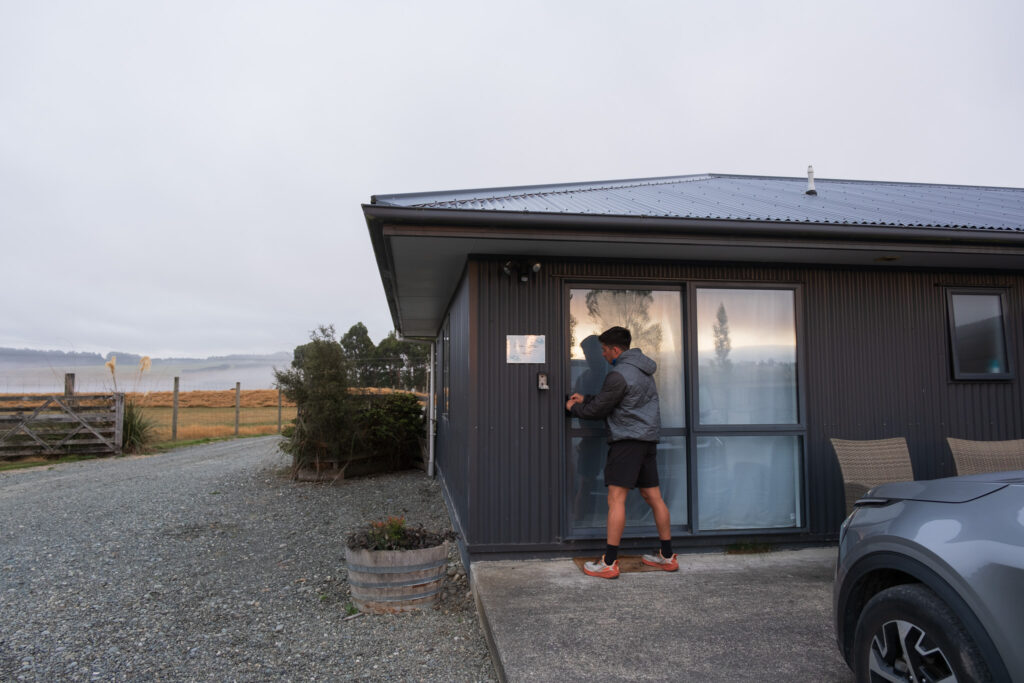
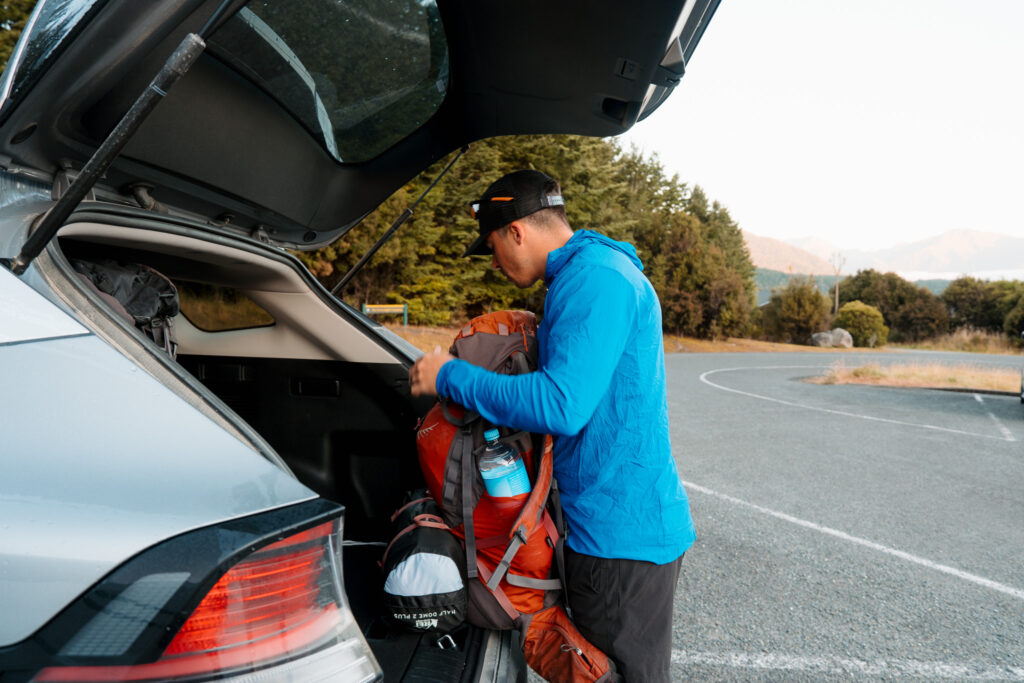
After a short drive to the trailhead where you are allowed to park vehicles overnight, we started hiking the Kepler Track counterclockwise around 8 AM.
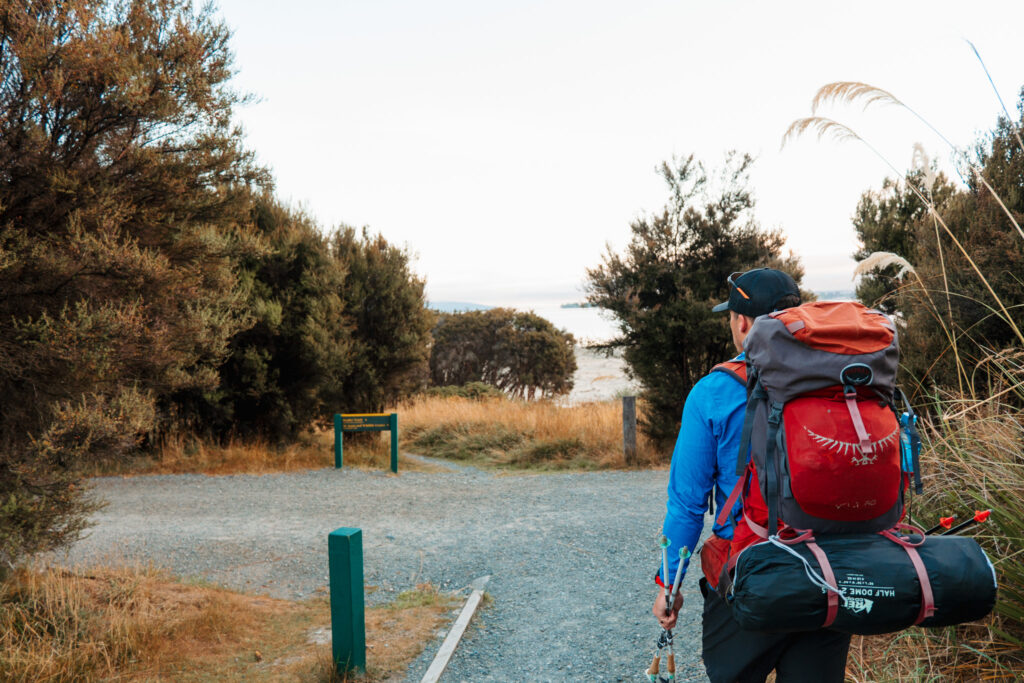
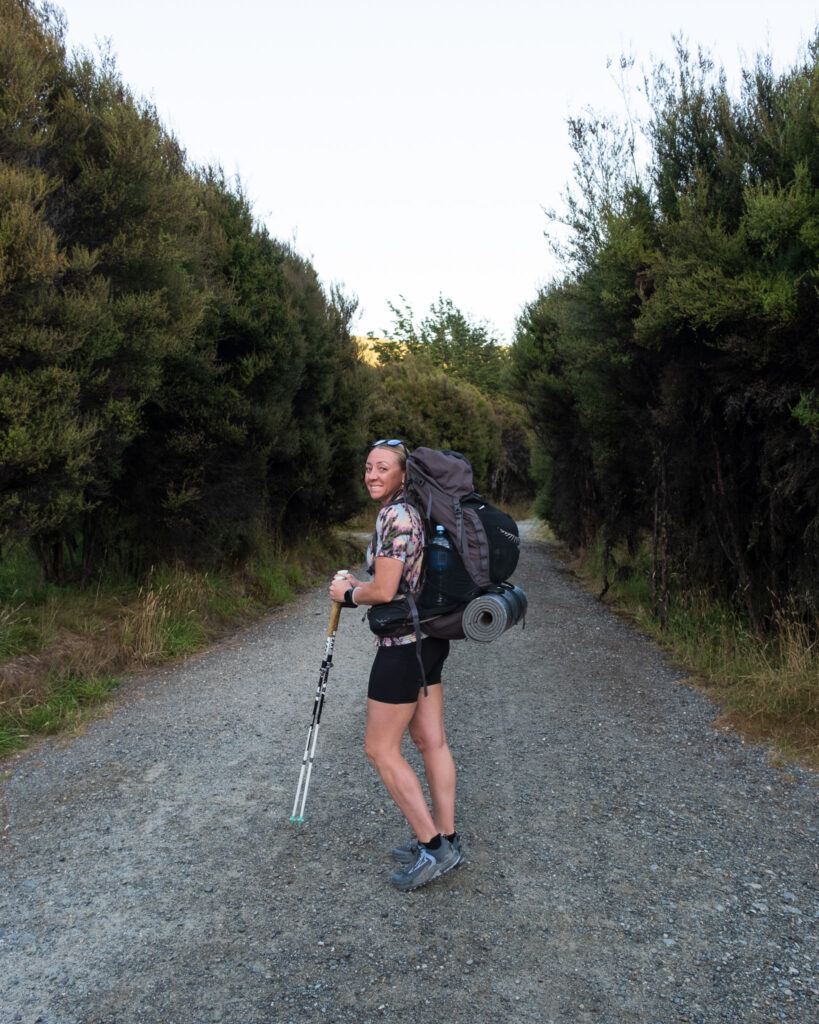
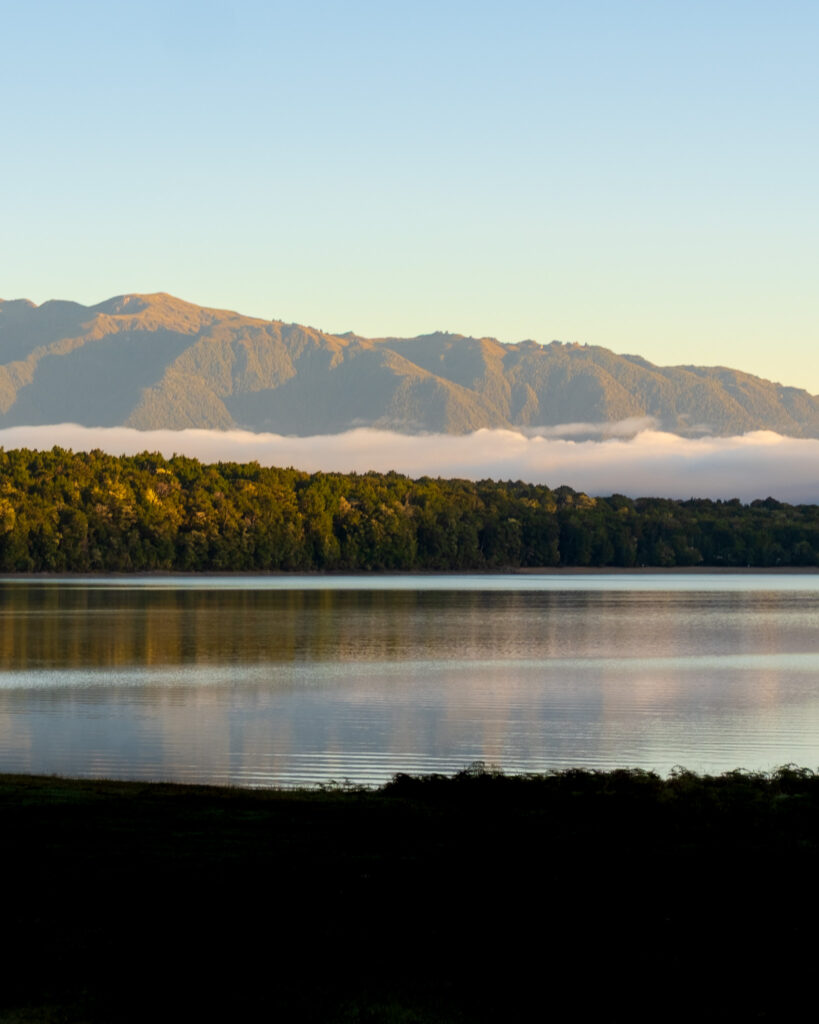
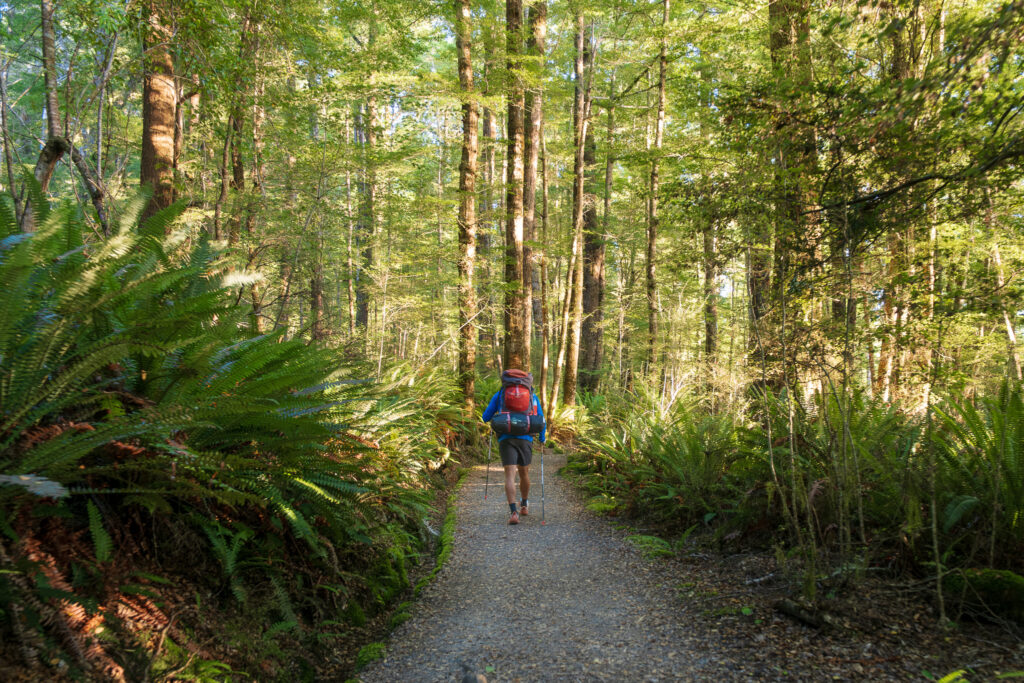
The trail began beautifully—flat, well-maintained, and covered by a forest canopy. I remember being mesmerized by the ferns and enjoying the crisp morning air. Surprisingly, there were toilets around 3.5 miles on the trail. Fancy. And yay for not having to pee in the woods!
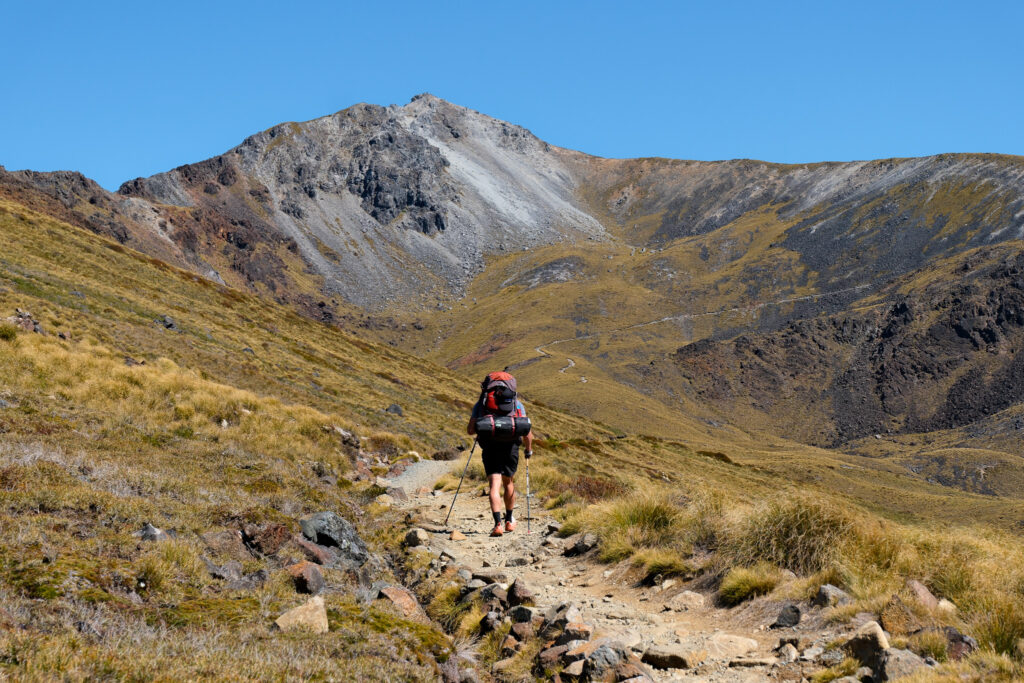
Around 3.5 miles in, the ascent began, leading us out of the forest and onto the exposed mountaintop. The steady climb covered about 2,700 feet of elevation between the start of the ascent and our first stop—Luxmore Hut, roughly 9 miles in.
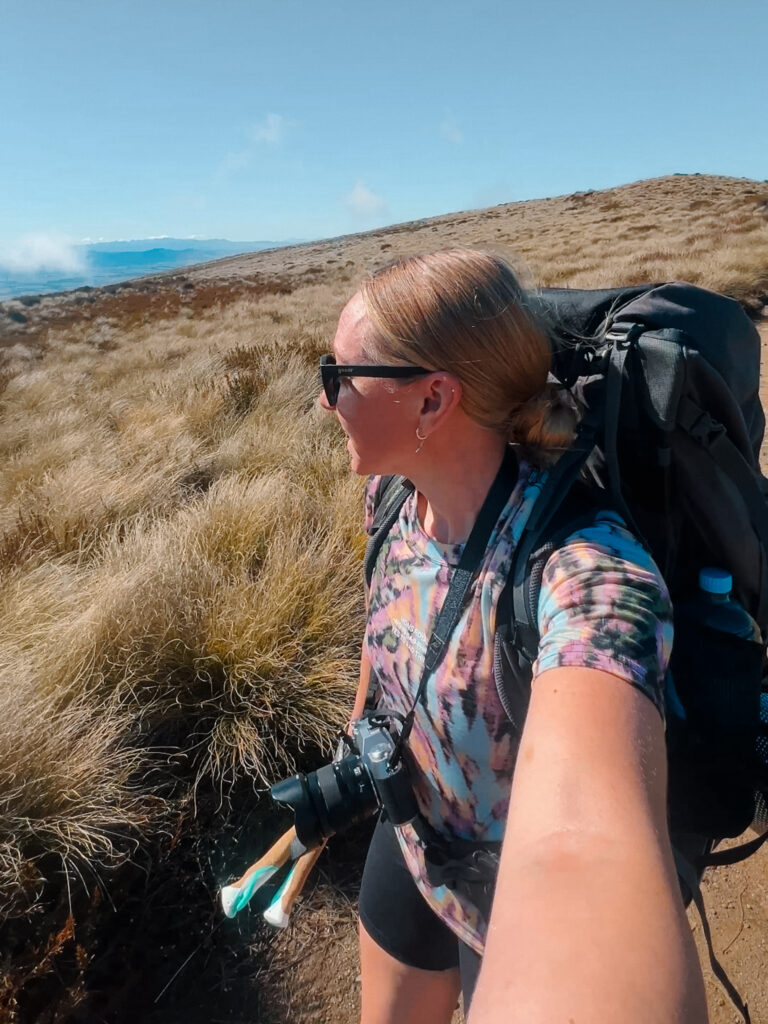
We reached Luxmore Hut at 11:45 AM and ate lunch inside. I’m not sure if that’s technically allowed for non-stayers, but the bees outside were annoying.
Some hikers spend the night here, and in retrospect, I think that would have been a great option. But I hardly felt tired yet.
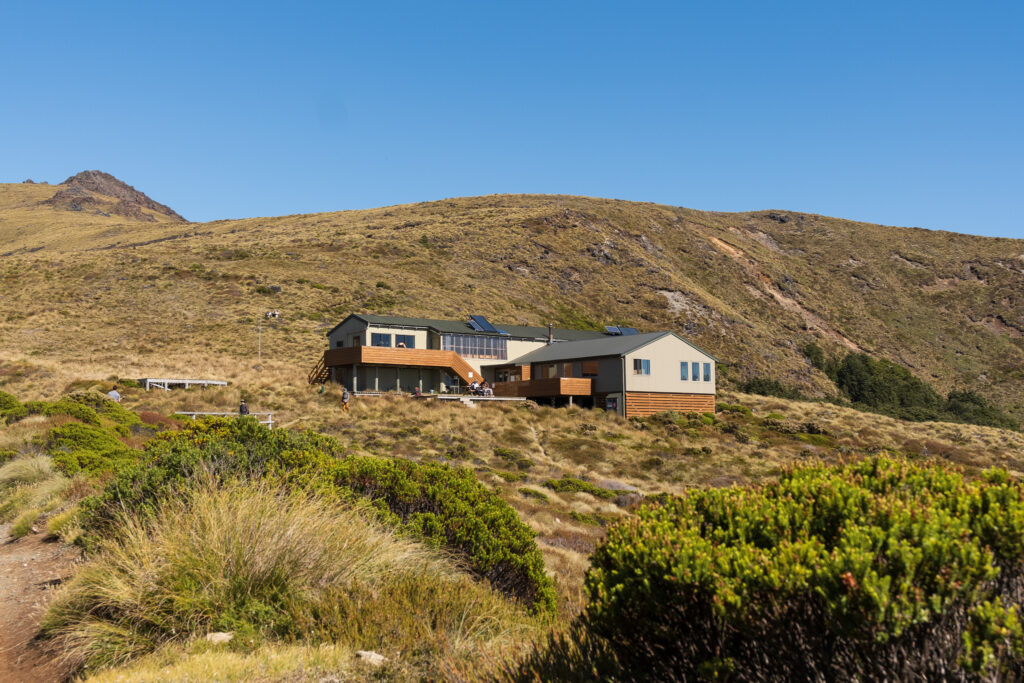
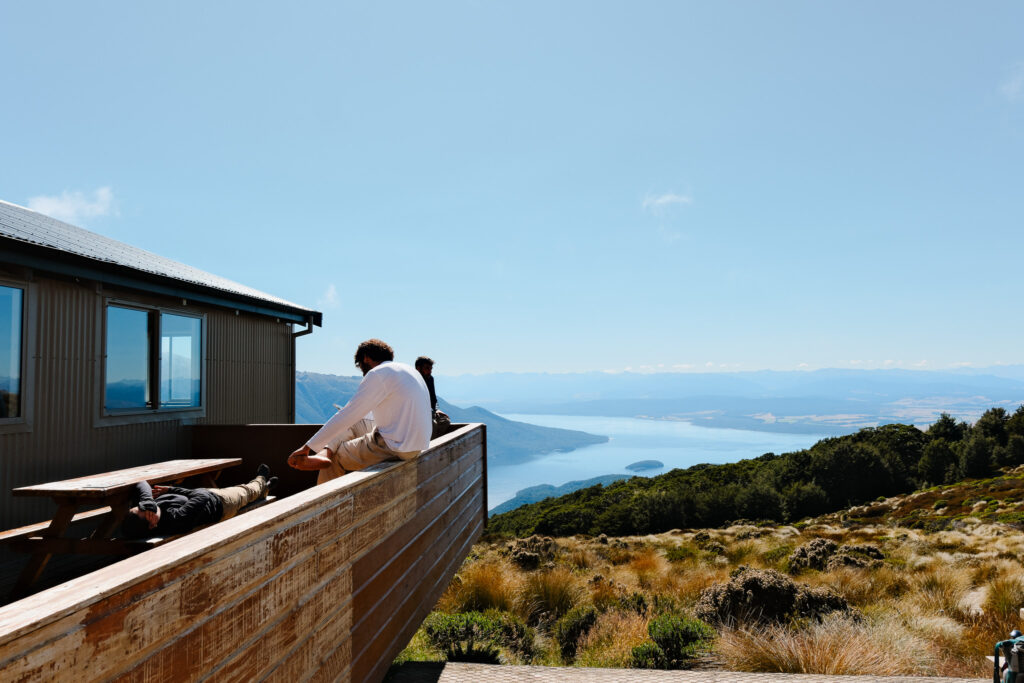
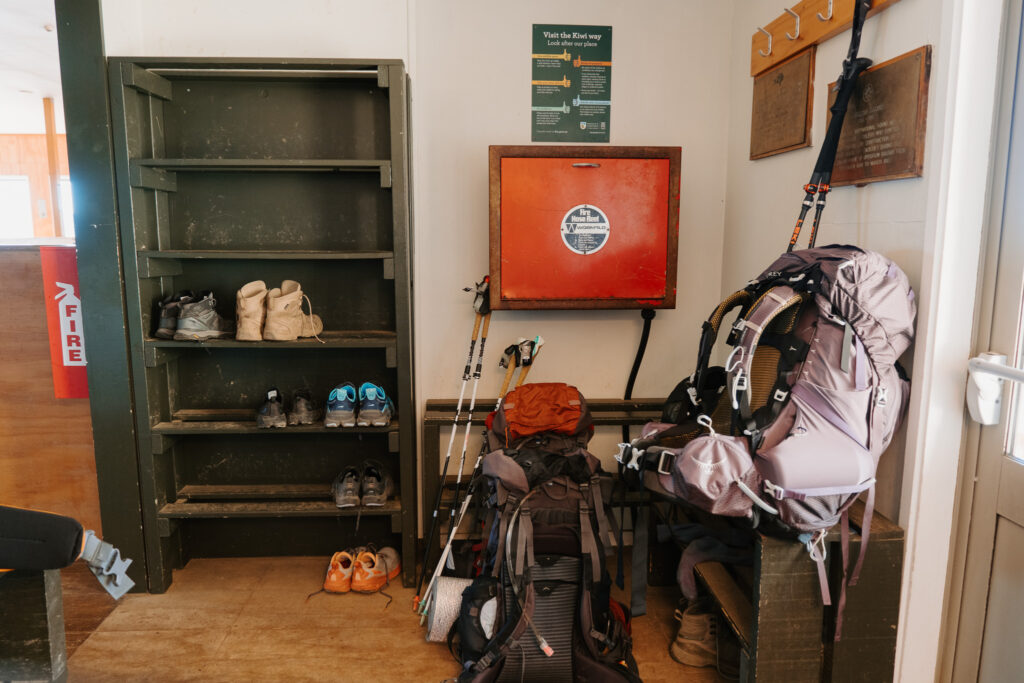
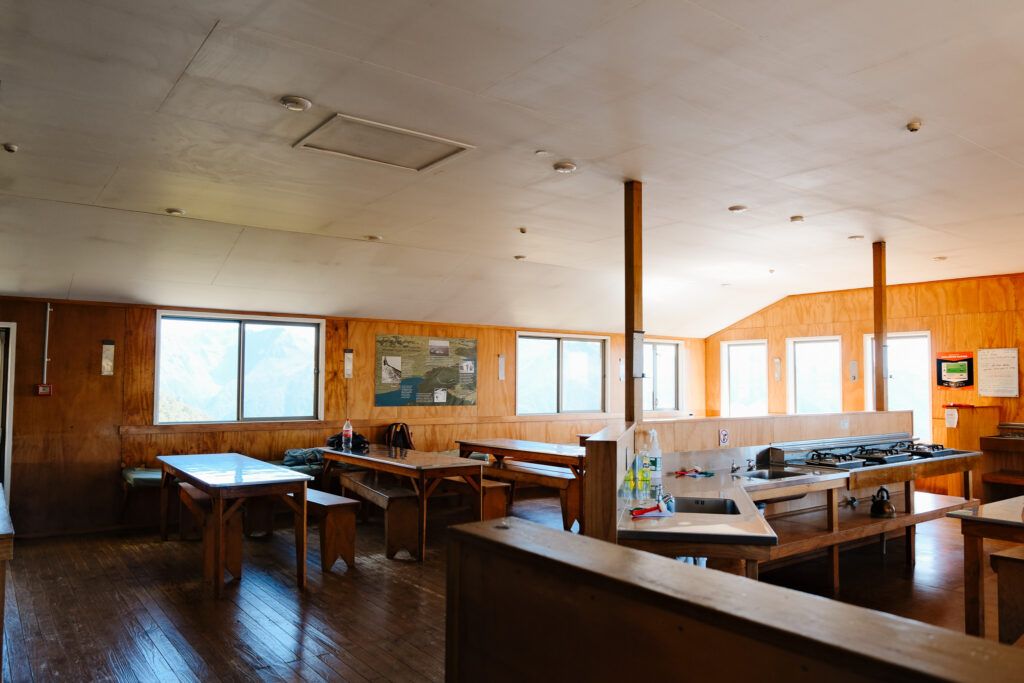
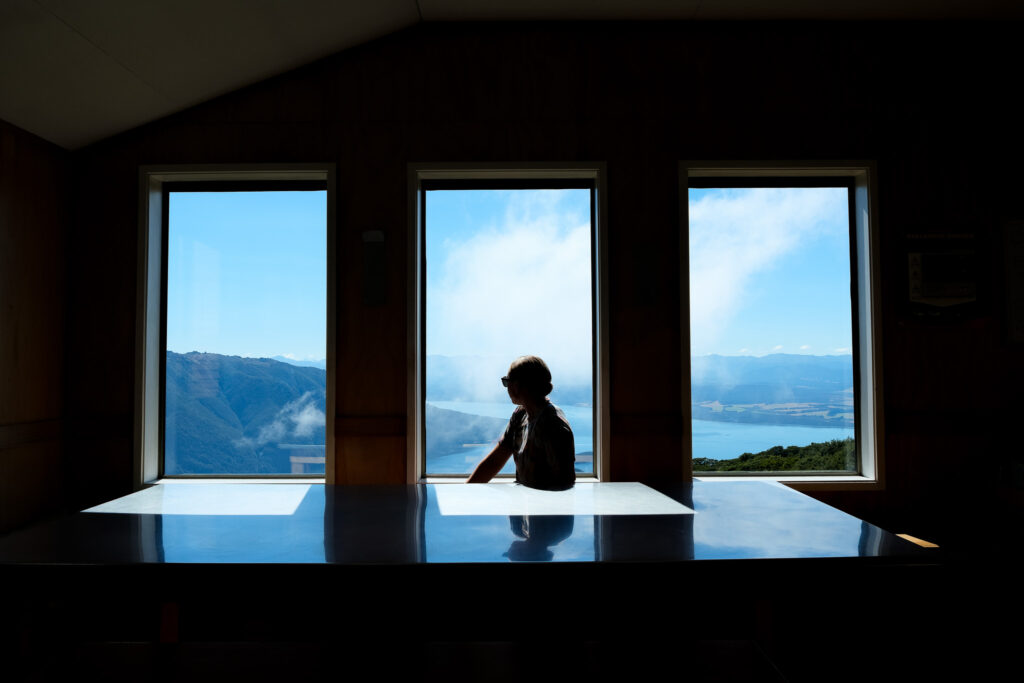
Beyond Luxmore Hut, the trail continues to climb with no tree cover until the descent begins into the forest around 15.5 miles.
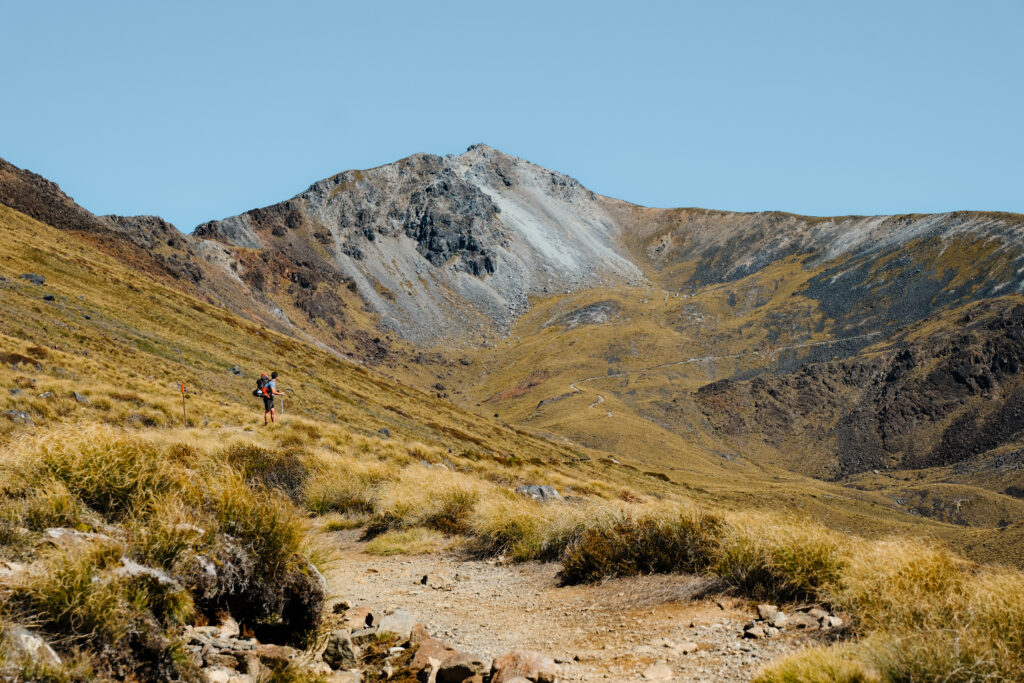
If you’re afraid of heights or exposed trails, the section between the Luxmore hut and Iris Burn hut might be tough at some points. Personally, I loved it.
There are some rocky sections here and there, but overall, the trail is extremely well-maintained. A few wind shelters along the way provide good spots to stop and wait out bad weather if needed. Thankfully, the sun was shining and the wind felt good!
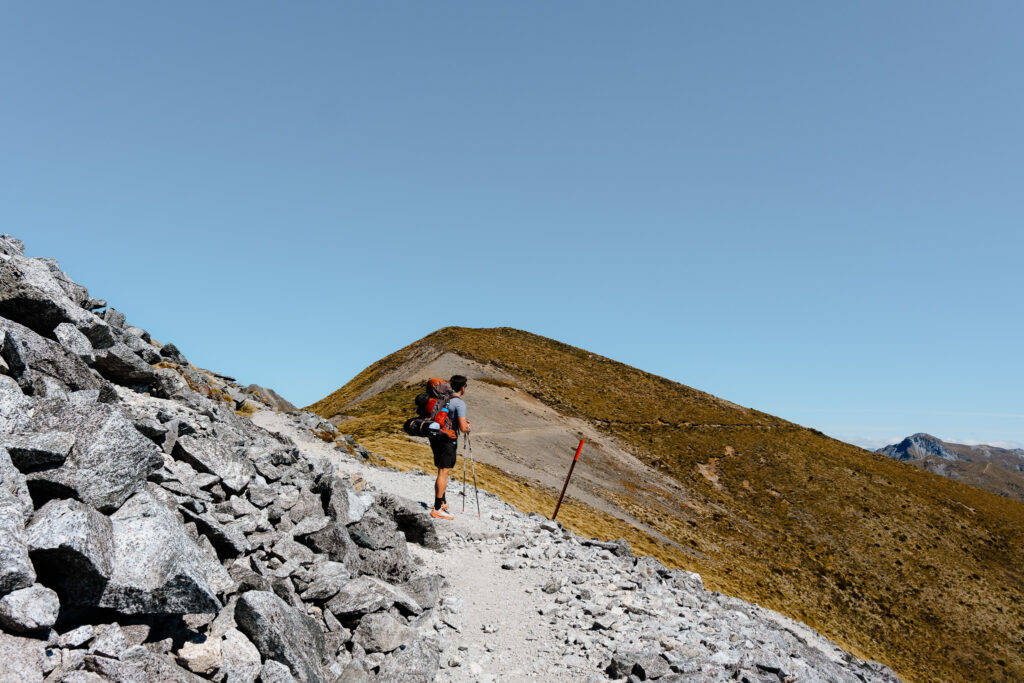
After this point, my husband eventually hiked ahead, and I found myself too lazy to use my camera.
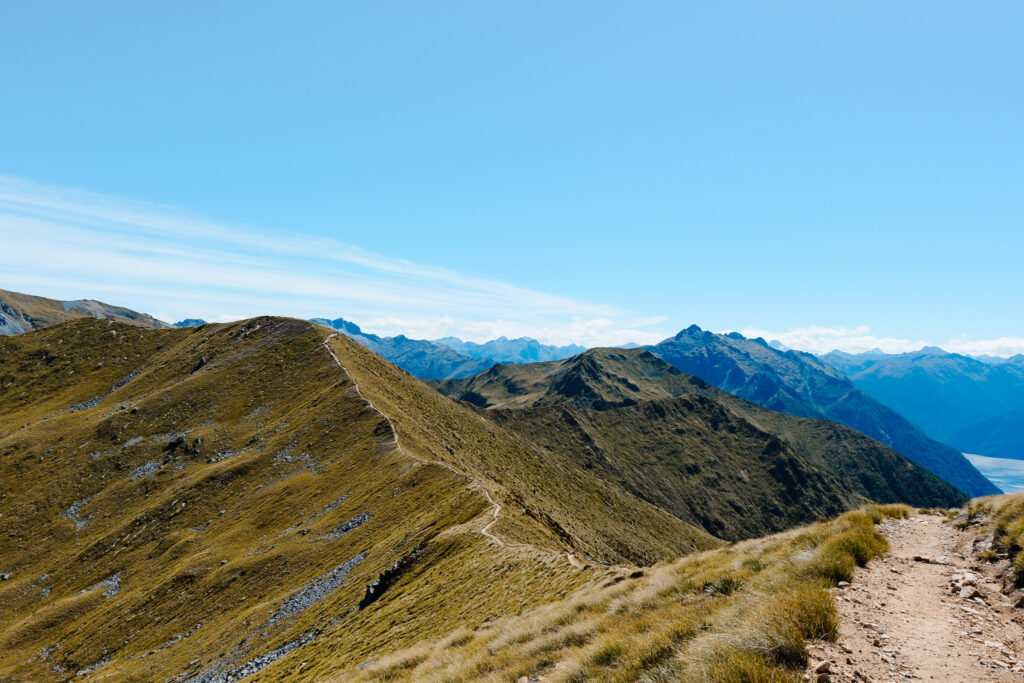
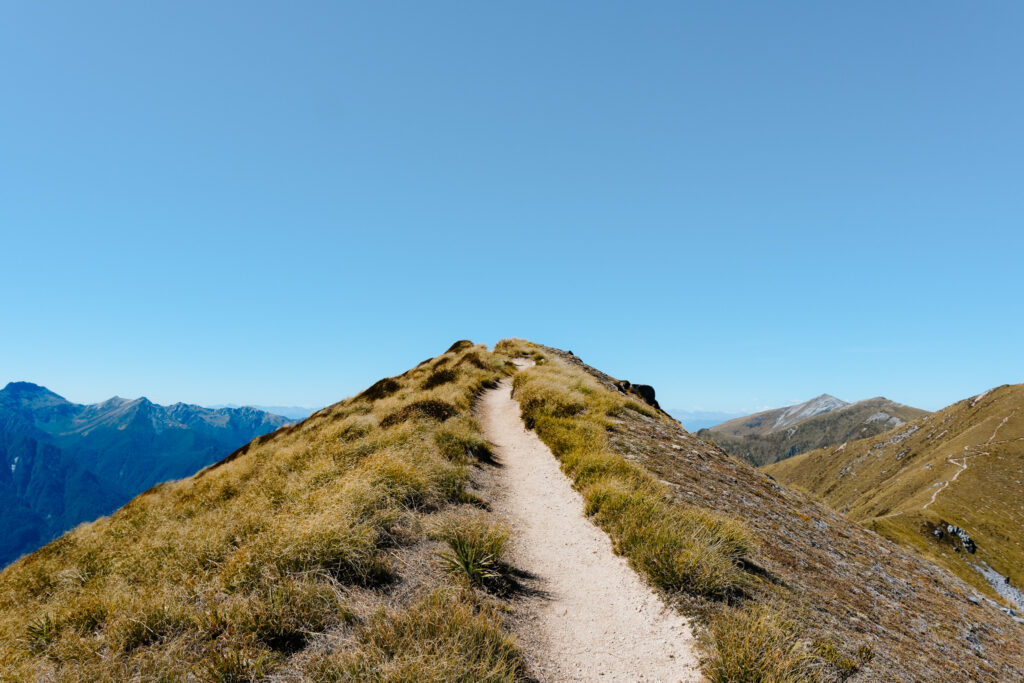
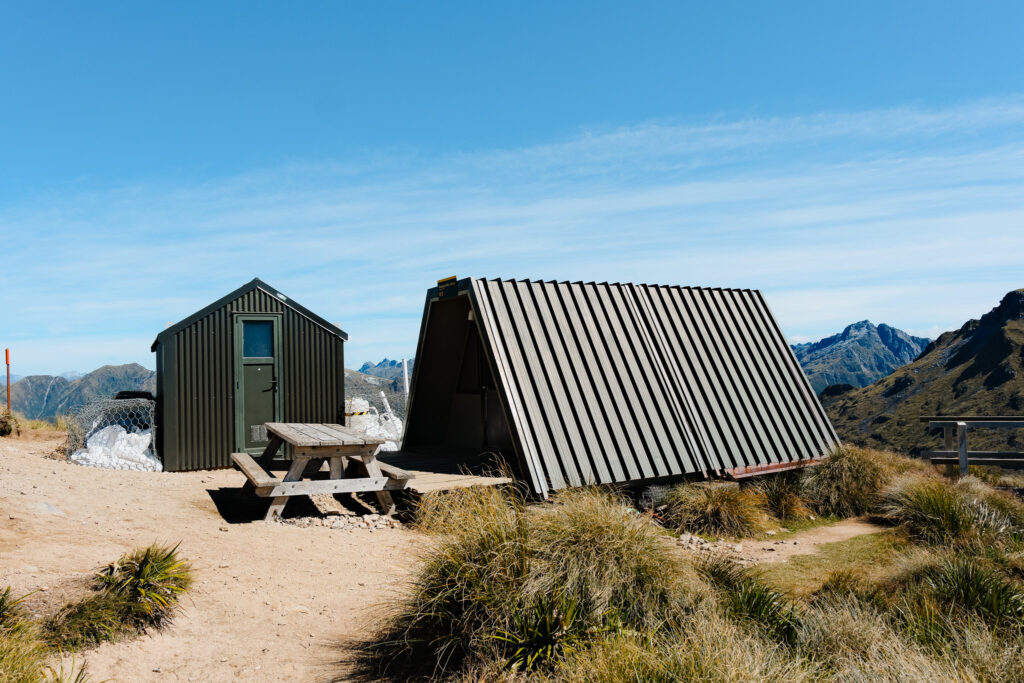
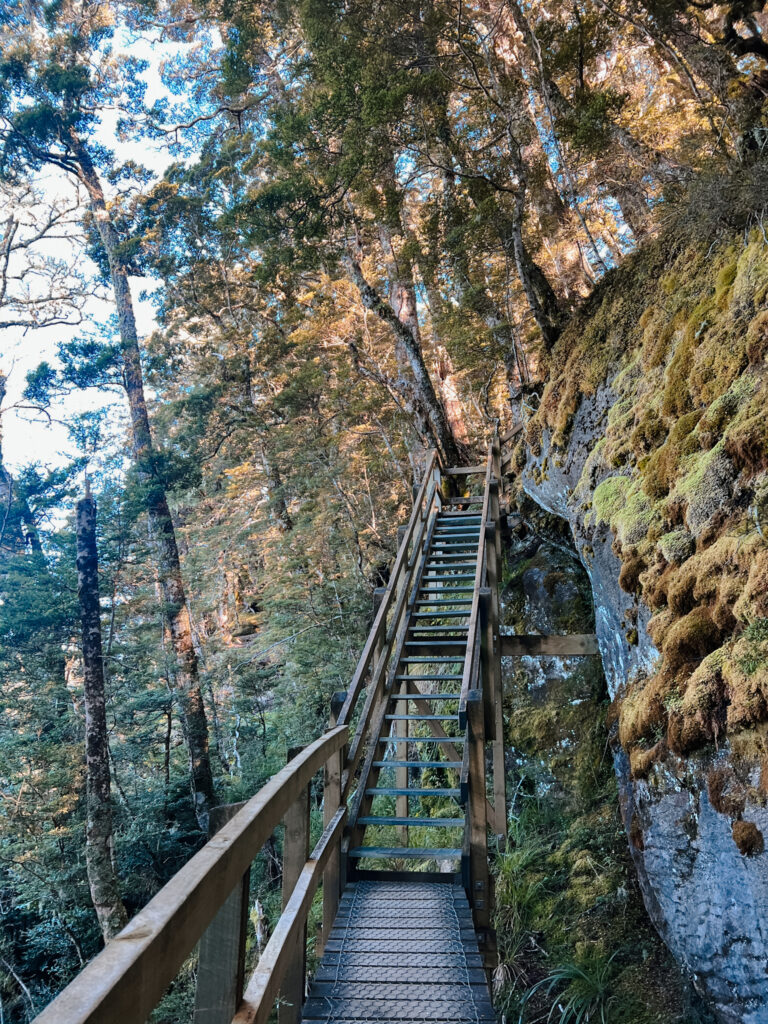
By the time I reached the coolest section of this hike with several picturesque staircases, I was exhausted.
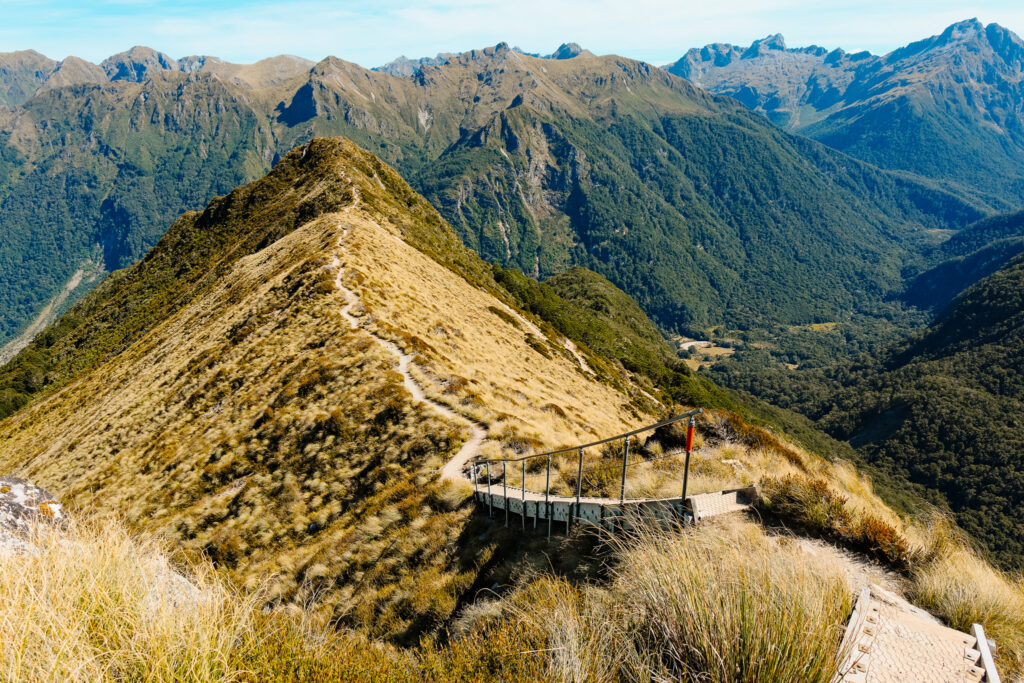
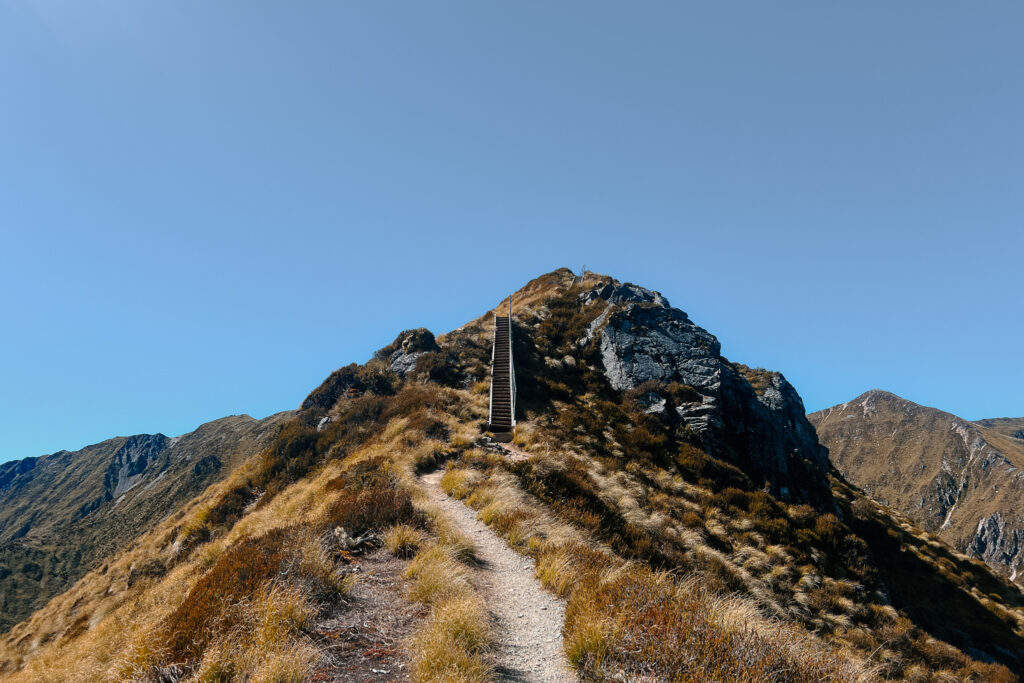
I’ve been dealing with a nagging injury since my last ultramarathon 4 months prior. So, I had to take it slow to avoid a flare-up. And on the descent by the steps, I felt how out of shape my legs were. I couldn’t believe how much they were shaking when I stepped down these stairs!
This is when I realized the appeal of staying at Luxmore. This stretch was my favorite, and spending the night there would have let me soak it all in the next day.
After the stairs, the descent continued—a long series of switchbacks leading down to Iris Burn Hut. This section dragged. My legs were super sore from hiking up Roy’s Peak two days prior. And I felt it every single step downhill.
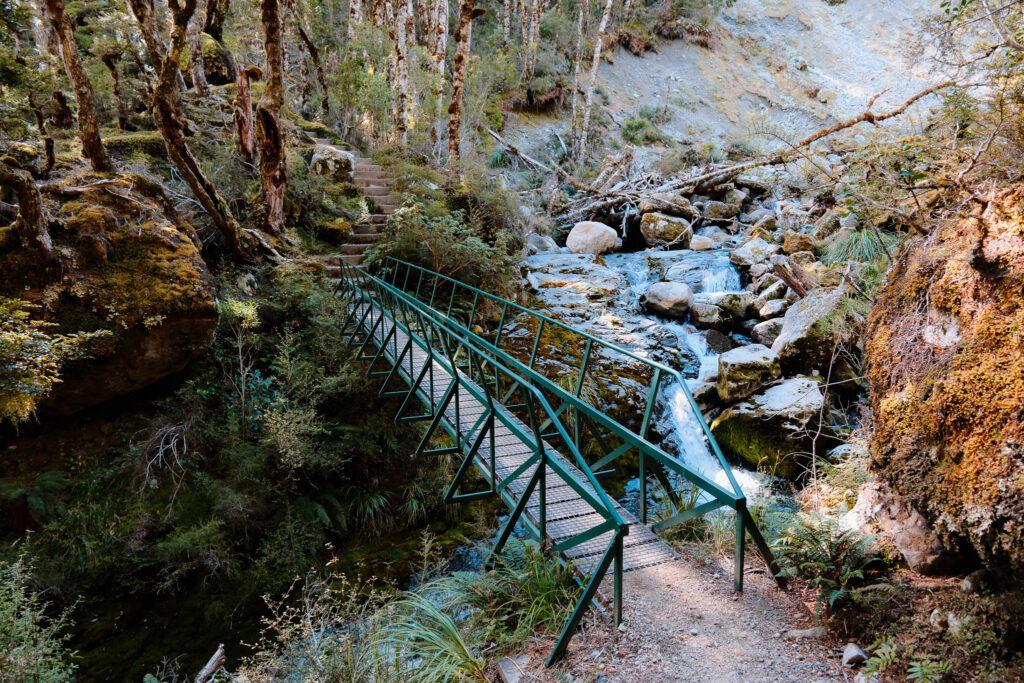
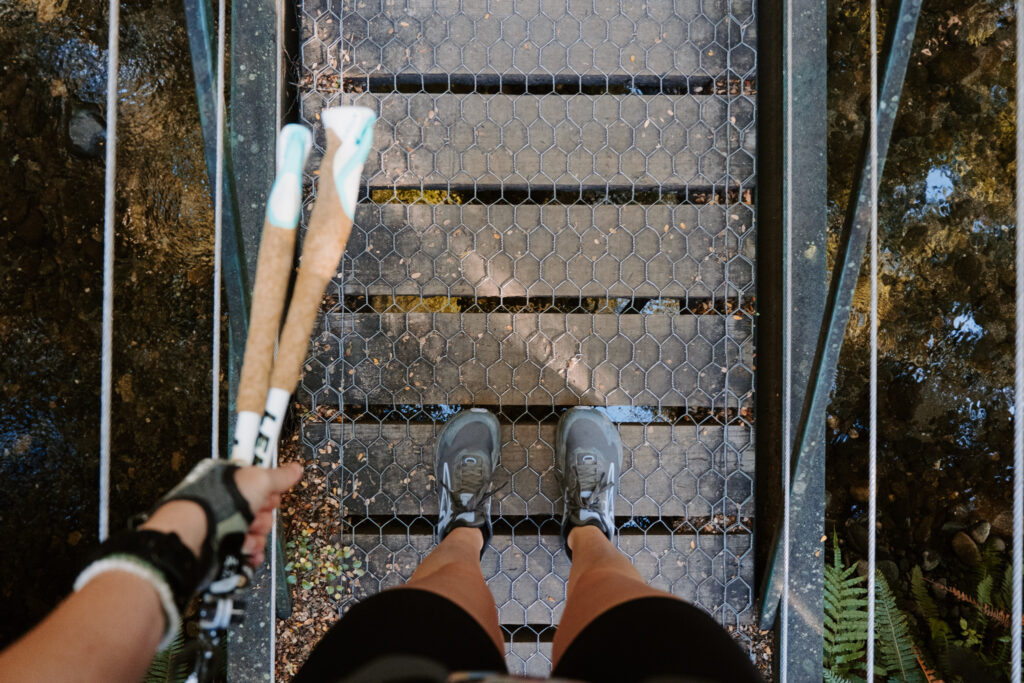
A few moments before I reached the bridge above, I caught up to my husband soaking in a stream. In retrospect, a soak would have been glorious after sweating all day, but I just wanted to finish. If you can stop and soak, do it.
By the time we reached the hut, my Garmin read 8.5 hours. That is a long time to be walking! As someone used to trail running, I didn’t realize how much a backpacking pack would slow me down!
Arriving at Iris Burn Hut & Campsite
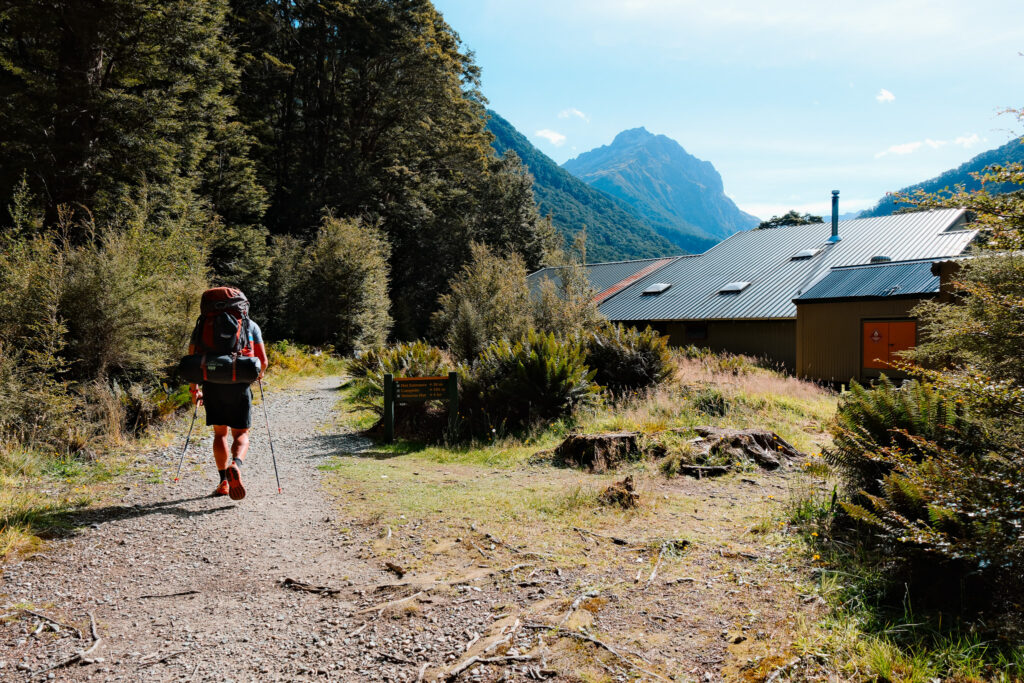
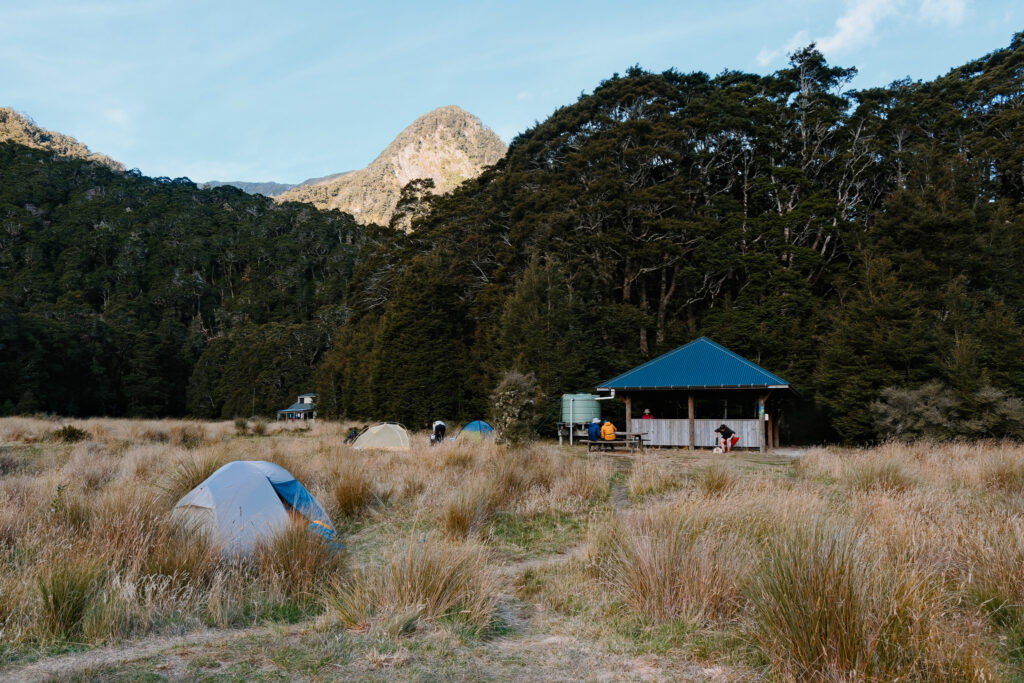
The campsite is about a two-minute walk past the hut. When we arrived, we wrote our names and campsite confirmation number on a whiteboard in the picnic area.
Then we inspected the grassy field in front of the picnic area for the best place to set up our tent.
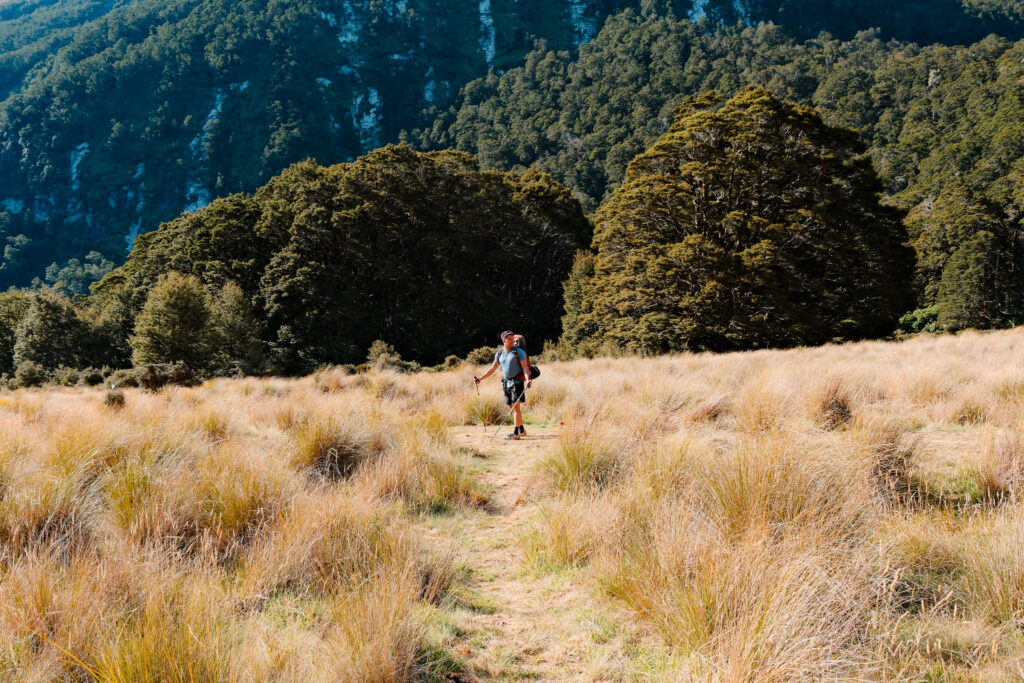
After 18 miles of walking, I was ready to drop my pack and sit at the picnic tables. But to my surprise… There were hordes of overactive carpenter bees everywhere. Harmless, yes, but at least five were hovering around at all times… in my gear, buzzing in my face. Ugh.
I didn’t last long here and quickly left the campsite to go for a walk away from the relentless bees.
The common area inside of the hut next door would have been a nice escape then!
Bless my husband for handling setting up our tent and letting me be an overstimulated diva here. Something I’m usually not! If you saw me there, no you didn’t. Because I was acting ridiculous, tweaking out anytime a bee wouldn’t let up.
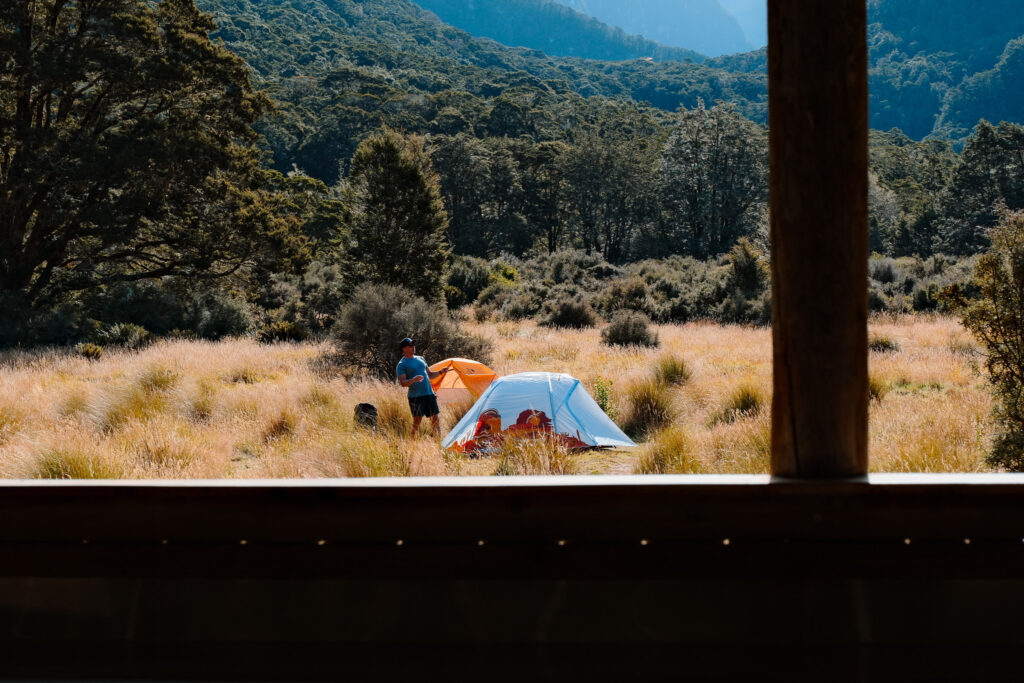
While my husband was boiling the water for our food, the site’s DOC ranger gave a check-in briefing. He told us about the area, the campsite, and where we were supposed to lock our bags overnight.
As I mentioned above, we both carried water in our Camelbak bladders and brought an extra bottle each for drinking. But there were water containers at the campsite (rainwater reserves, I think?).
Signs indicate that you should boil the water before using and many people had filters. But a guy on the trail drank straight out of it after having no water all day and said it’s normal to do. We only cooked with that water (my husband did drink some of it unboiled too and was fine).
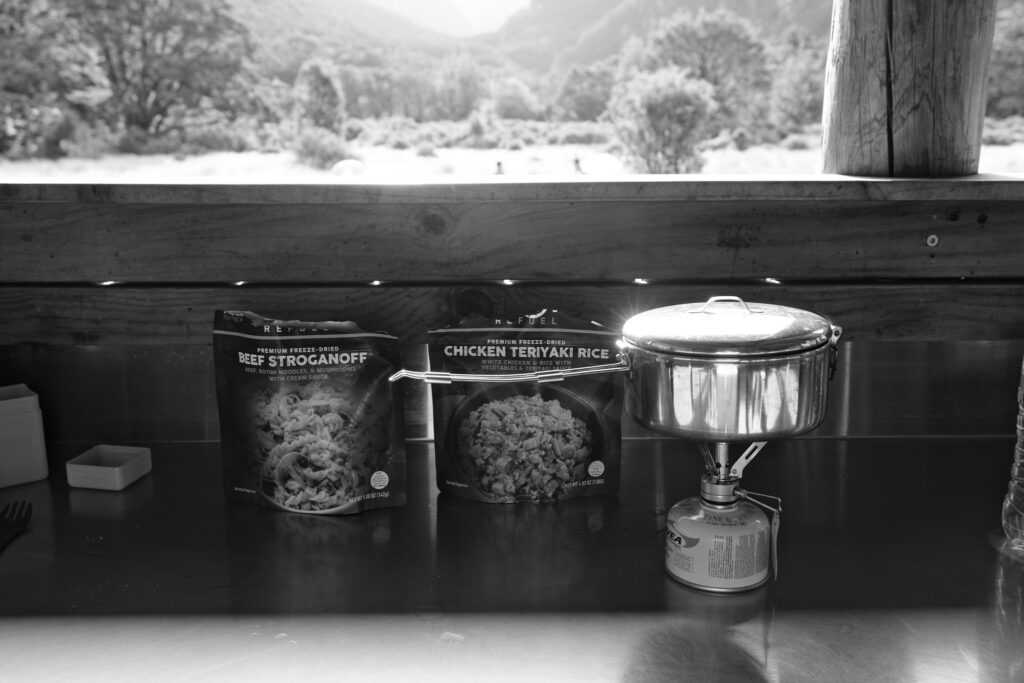
And that’s about when I noticed the sandflies started biting my ankles. So I reapplied bug spray!
Besides the bugs, there are also kea here, though we never saw any. These birds are highly skilled at breaking into tents and gear bags to get anything with a smell. The DOC ranger informed everyone that gear had to be locked up behind the Iris Burn Hut in a designated storage area. “Locked” is a loose term here, but it’s meant to keep the kea out.
Additionally, we were instructed to take all food items out of our backpacks and hang them from the ceiling. This was in an effort to prevent rats from getting to them. It sounds intense, but in reality, it’s just a few extra steps to keep your stuff critter-free.
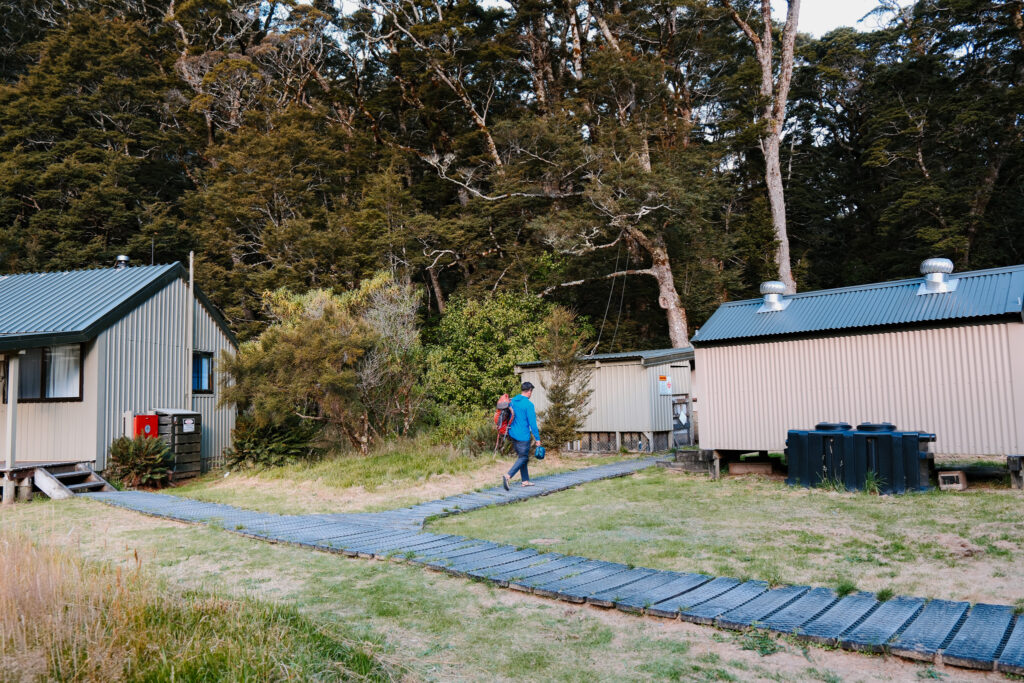
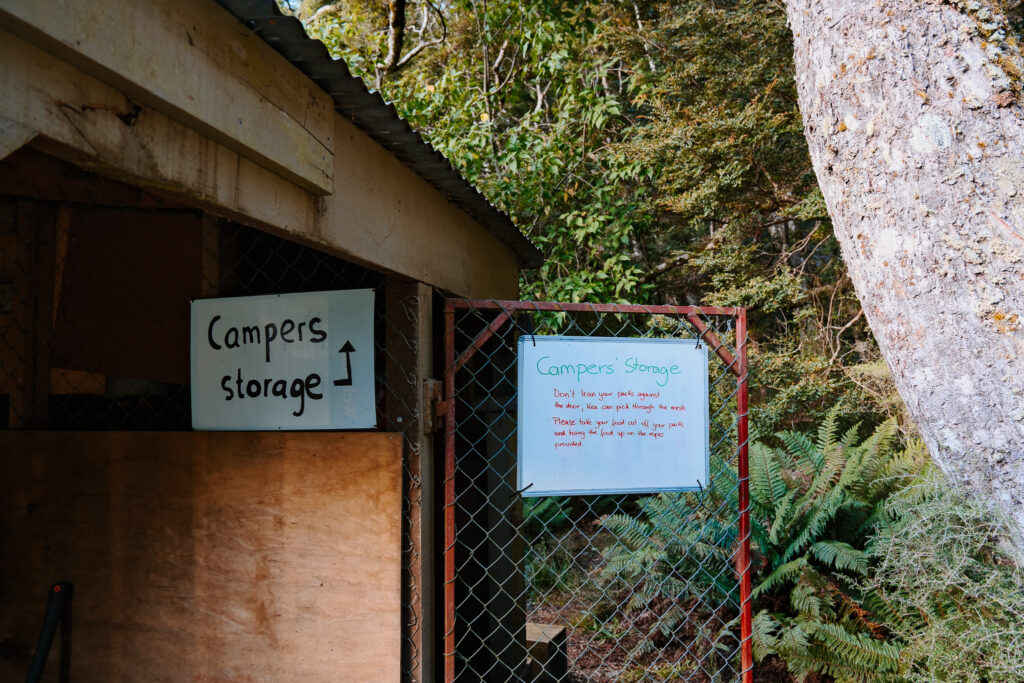
After eating and locking up our gear, we ended up getting in our tent around 8 PM for an early start the next day. In the tent, we charged our watches, cell phones, and my camera on our power bank and hit the hay. While lying there, we could actually see the swarm of sandflies resting on our tent netting outside.
Well past midnight, I had to pee really bad. But had zero desire to exit the tent. Luckily, my husband woke up at the same time. So we braved the sandflies together for a trip to the bathroom. Speaking of which—the Iris Burn campsite does have two toilets, which was a nice surprise!
Day 2: Iris Burn Hut to Te Anau (~21 mi, 2k elev.)
After a solid four hours of truly luxurious sweaty sleep (according to my Garmin), we woke up at 6:00 AM. We quickly changed in the tent with our headlamps set to red light to avoid waking nearby campers. Then my husband got to work heating up the water for our coffee and breakfast.
Meanwhile, I walked to retrieve our locked-up gear from the storage closet about 100 meters away. Now, let me set the scene: As you can see above, it’s pitch black, I’m half-asleep, and so I reluctantly switched my headlamp to the white-light setting when I got to the closet so I could actually see.
Big mistake. As soon as I opened the storage closet door, two of the biggest moths I’ve ever seen launched a full-scale back-to-back attack directly at my face. I definitely let out a weird noise for the first one and the second one caused me to jump and bump my head so hard on a post—both no doubt heard by any early risers nearby.
Between this and my battle with the bees the day before, any shred of coolness I had was officially gone.
But I digress.
After recovering from my airborne ambush, we ate breakfast, reorganized our gear, packed up the tent, and hit the trail at 7:15 AM. Leaving early meant we had the quiet of the morning almost to ourselves—only one hiker was ahead of us, though two dudes caught up not long after.
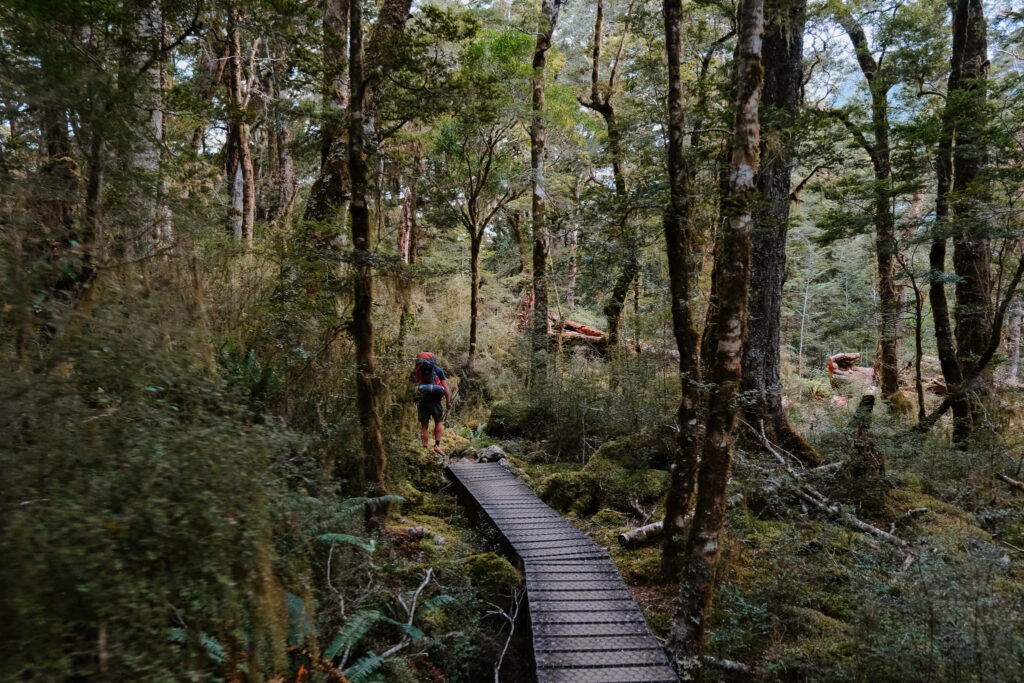
Surprisingly, I felt way less sore on day two. I expected my legs to be completely shot after my shaky descent the day prior. Somehow, Roy’s Peak wrecked untrained me more than the entire first day of the Kepler Track. I’m sharing this because you might be road-tripping down the South Island and following a similar itinerary!
As we left the campsite, a drizzle misted through the trees, making the forest feel moody, enchanted, and otherworldly. So perfect that it reminded me why I love doing things like this.
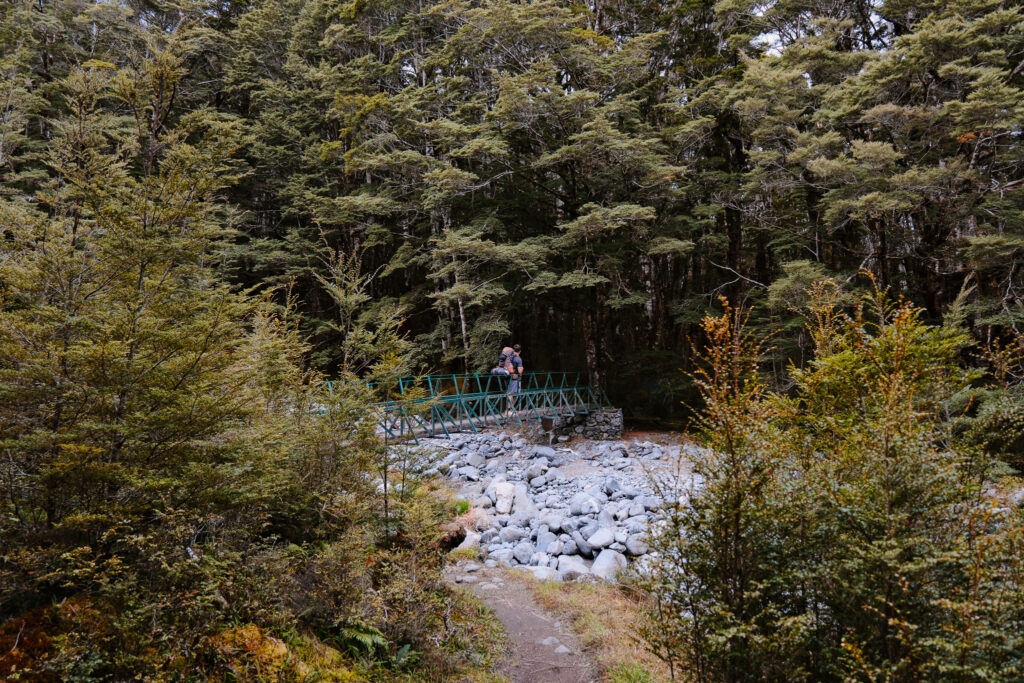
The trail was once again incredibly well-maintained, winding through lush forest with occasional open fields. It was mostly downhill, with some gentle inclines scattered throughout, but nothing too intense. It was so gradual and brief—except, of course, for those random little uphills that felt way harder than they should have. I silently cursed each one.
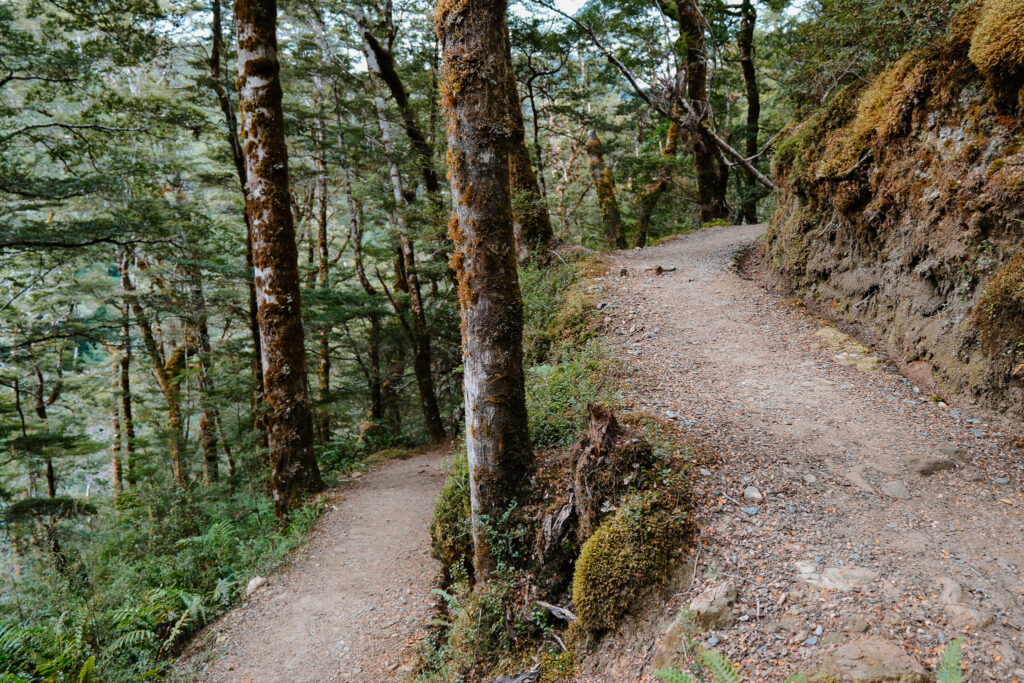
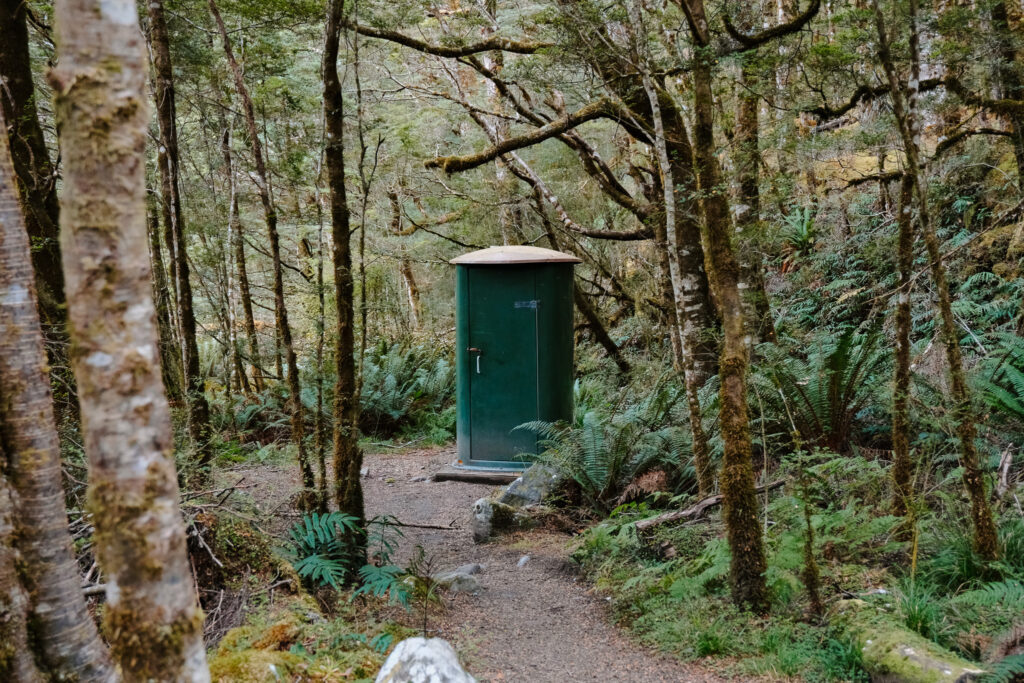
My husband hiked ahead after the first mile or so, which meant I walked alone for the first half of the day.
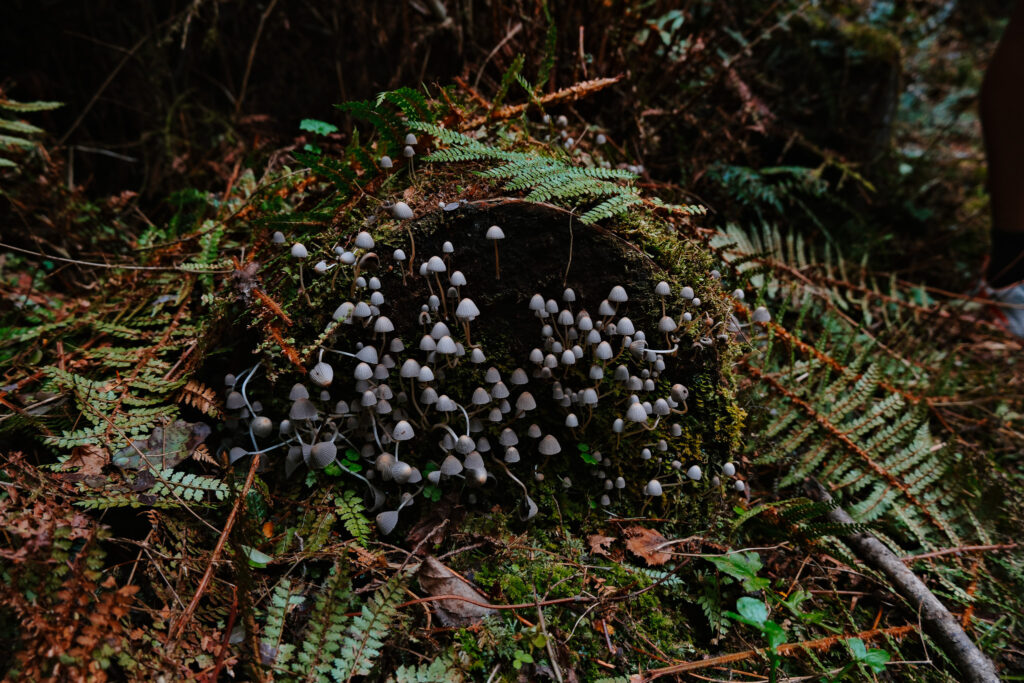
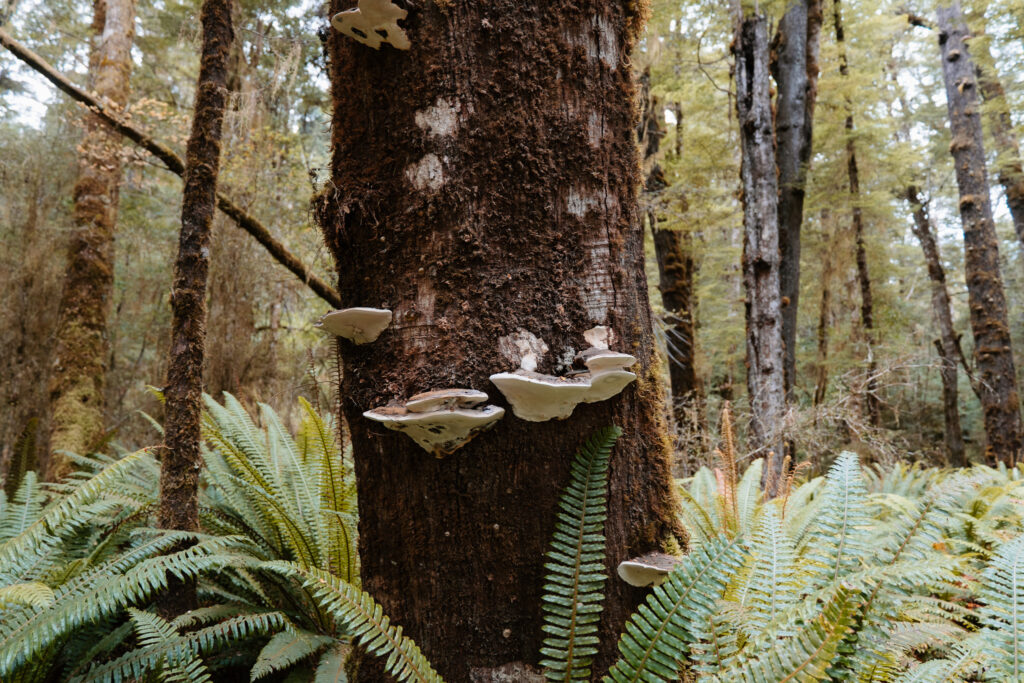
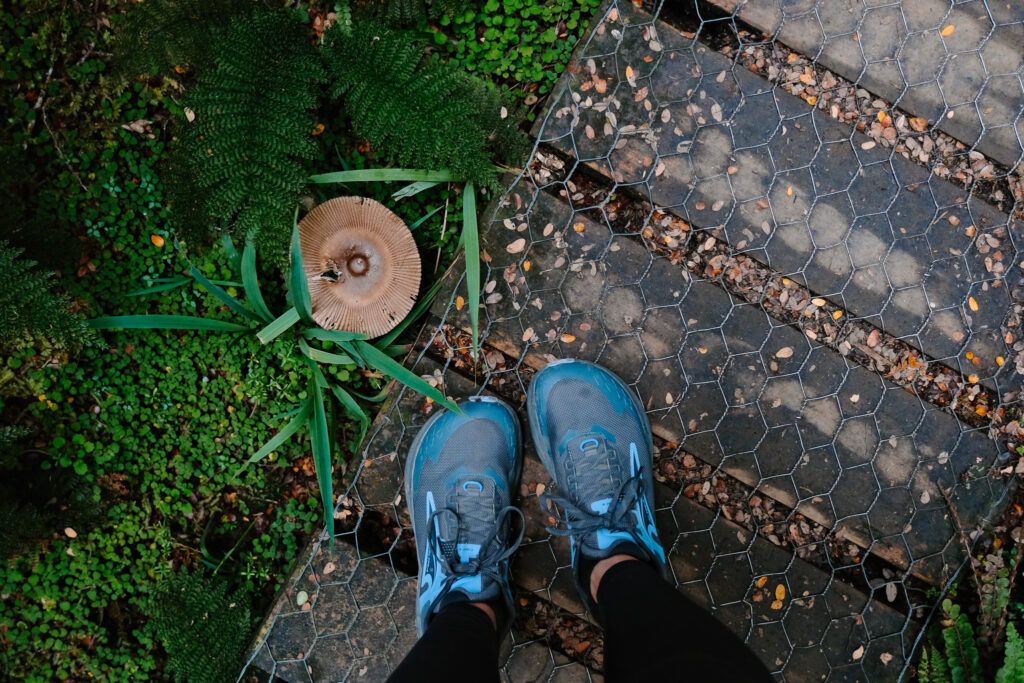
It was quiet. Peaceful. A little eerie at times, with the thick forest surrounding me. I couldn’t get over how many different types of mushrooms lined the trail — I must have taken a hundred photos of them. They looked straight out of a storybook, with their interesting shapes and unique colors.
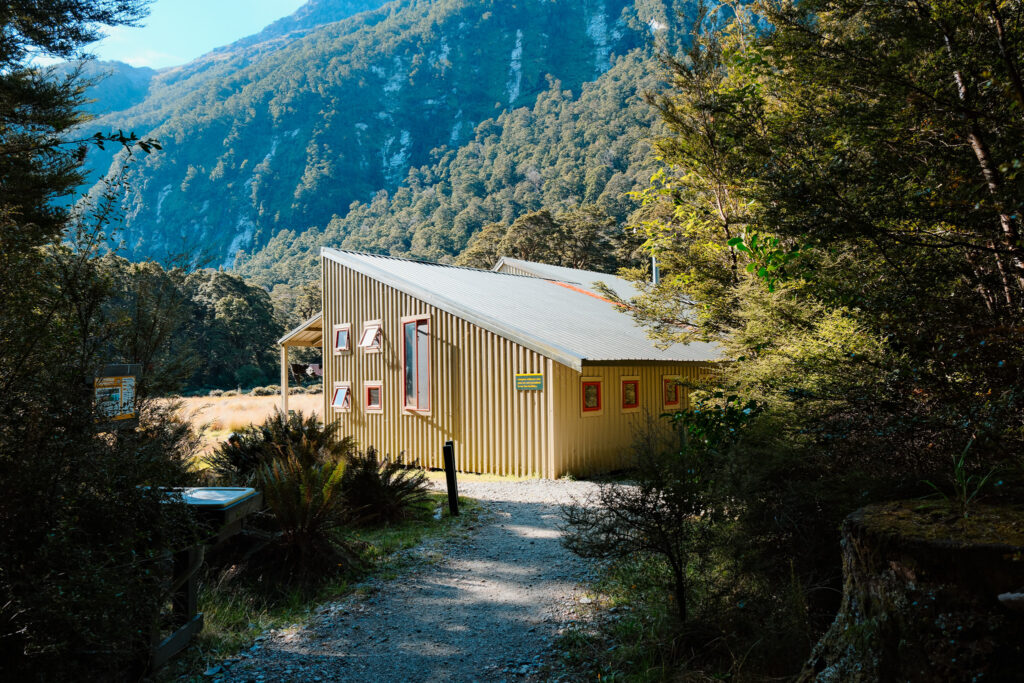
Eventually, I caught up to my husband at the Moturau Hut, where he had already set up the water boiler and was waiting for me to arrive with the extra meal.
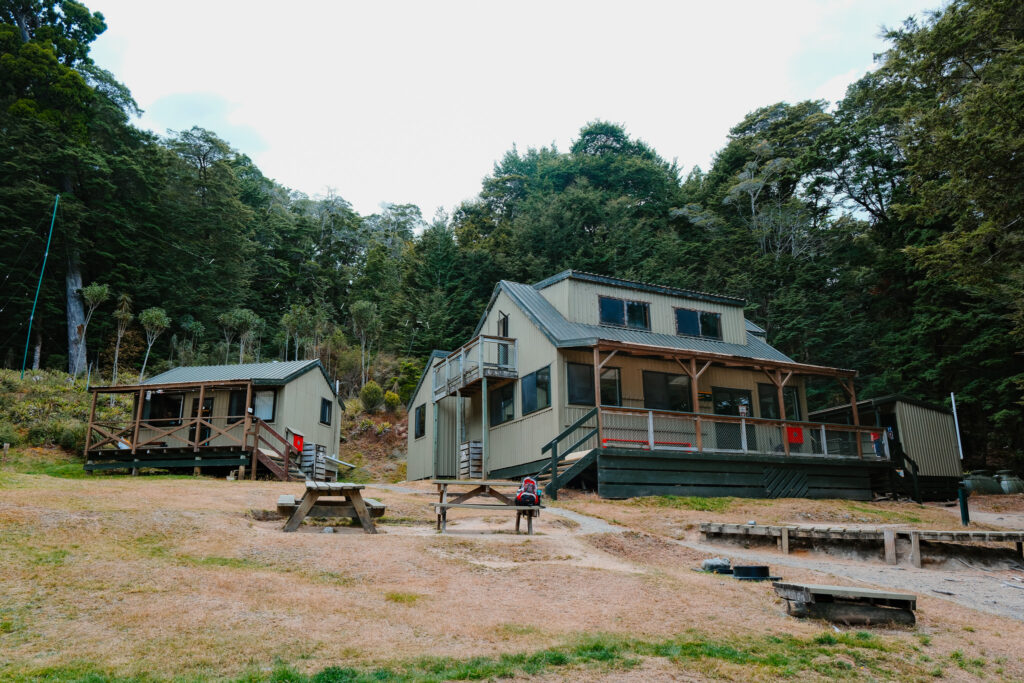
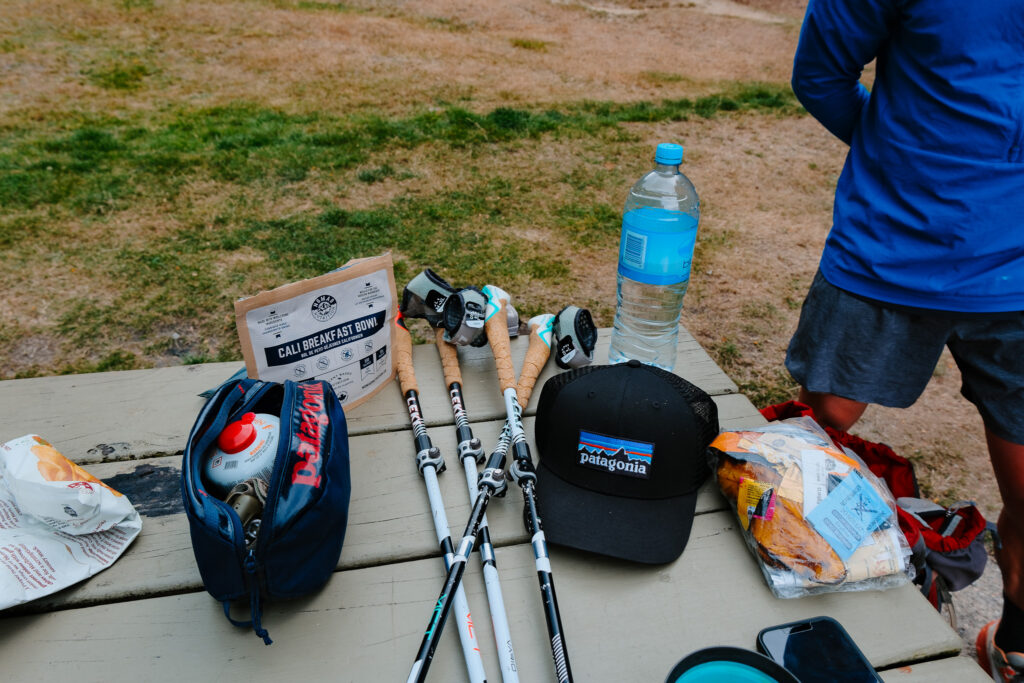
I sat for a few minutes and then took off about 10 minutes ahead of him.
While the scenery was stunning, the hike itself started to feel long after that. Like, really long. The trail stayed mostly within the forest, and after miles of the same scenery, my brain started to check out.
Around the 12-mile mark, my body did too—like clockwork. No matter how many hikes I do, I always hit a point when I feel tired of walking for the day. And it’s usually around this distance.
My husband caught up, and we trudged through the final miles together, both keeping our eyes peeled for the bridge that would mark the end of the trail. Every turn, I thought, Maybe this is it? But nope—just more trees. More trail. More waiting. Our feet were feeling it by this point!
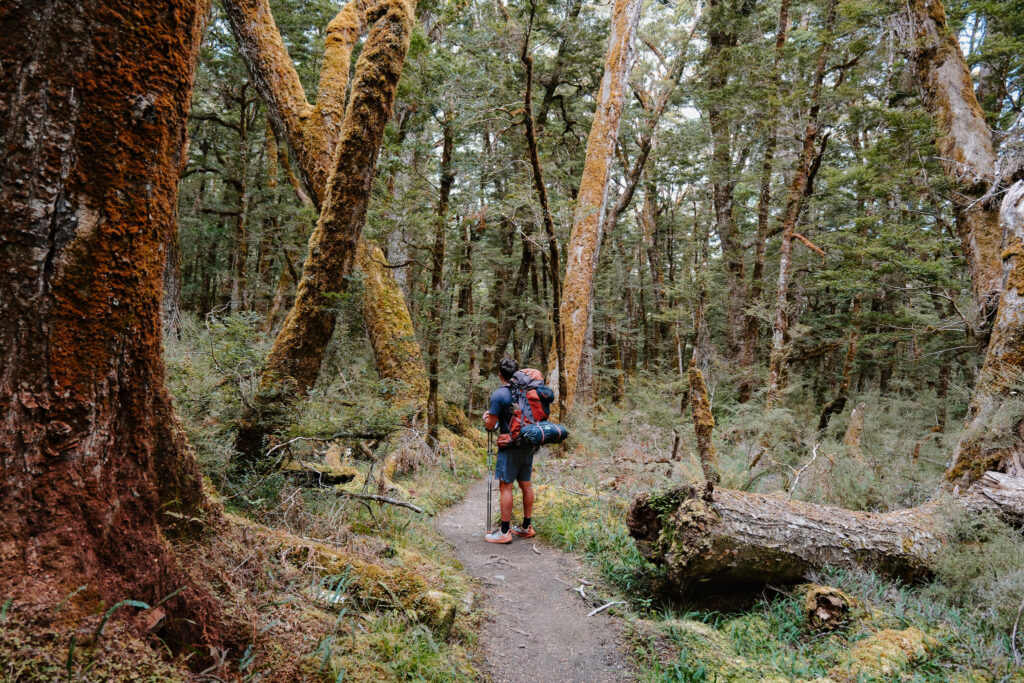
When we finally saw the bridge in the distance, we rejoiced. But somehow, closing that last bit of distance felt like it took forever. Once we reached the bridge, we were so happy to be done.
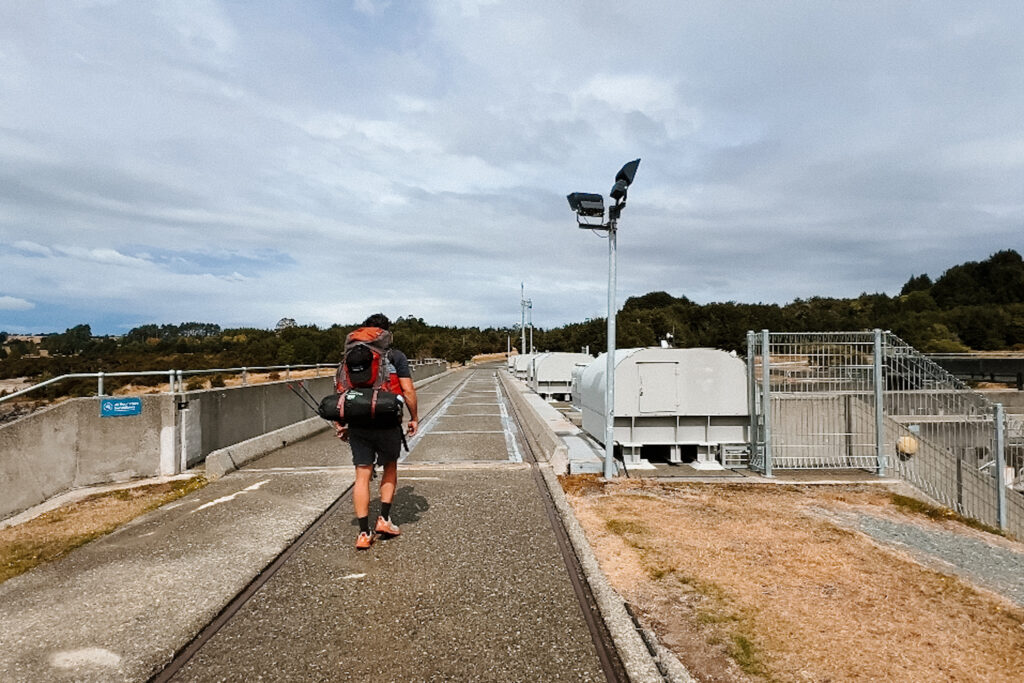
This 21-mile day took us about 7.5 hours to finish. My husband would have finished significantly faster without me, and I would have finished faster if I wasn’t injured!
Despite emptying my shoes twice that day, I dumped a forest full of debris from my shoes at the finish. Which caused my feet to be covered in itchy hives for days afterward. And a sliver of my ankle that was exposed between my socks and leggings was littered with sandfly bites. Don’t be an old person like me folks, and wear those crew socks on day 2!
Final Thoughts
Would I recommend hiking the Kepler Track in two days? Absolutely—if you’re up for the challenge.
Would I do it differently next time? Maybe. A three-day version would have given me more time to slow down and take more meaningful pictures.
I would have loved to linger longer between Luxmore and Iris Burn. It was my favorite stretch of the entire hike. And honestly, it would have been a smoother experience if I wasn’t nursing an injury and struggling in the cardio department.
That said, if you’re fit and want to push the pace, completing it in two days will be no problem for you! If you prefer to soak up your surroundings, take your time, take pictures of everything, and disconnect, I’d recommend stretching it into three days.
And about the bugs—honestly, they weren’t that bad until we got to Iris Burn Hut, and even then, they were more of an annoyance than anything else. Otherwise, it was just the occasional bee or bug buzzing by—nothing out of the ordinary for an outdoor adventure. Bug spray, expecting them and a little patience (something I lacked upon arrival) will make it easier to deal with.
Naturally, I already want to go back and tackle another 1 or 2 of New Zealand’s Great Walks, possibly even solo, just like the many badass women I saw out here.
Thinking about trying it? Let me know—I’d love to hear about your experience!